
PET-G with PLA Support
After watching this video on how to print PLA with PET-G support for having easy to remove support structures, I decided to try the inverse operation, i.e., print PET-G with PLA support.
Lessons Learned
It works, but…
Brittle PET-G
I had the probem that the PET-G print was too brittle; it broke apart easily. I did not have this problem printing directly and only PET-G, but the moment I mixed in PLA, the resulting objects were very unstable.
Support-W didn’t help
I swapped the PLA for Support-W. This didn’t change the problem with the brittle PET-G. I suspected it to be related to temperatures, so I printed a temperature tower:
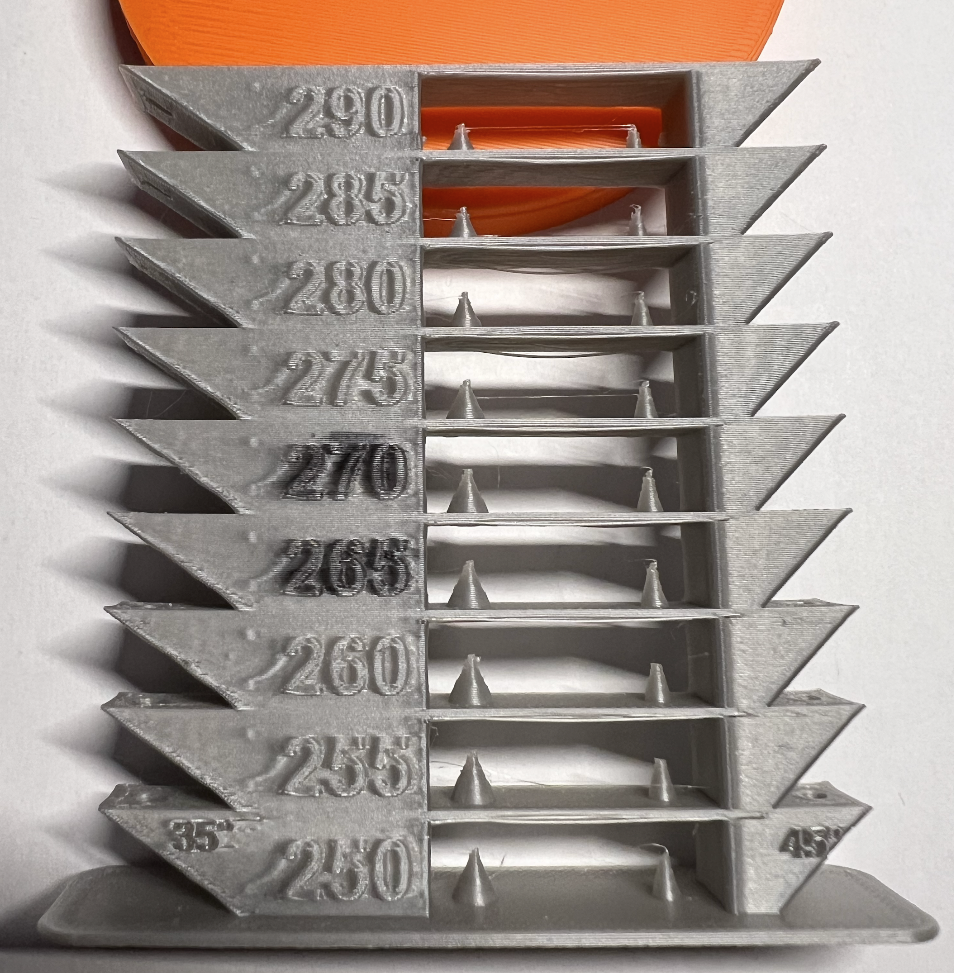
The temperature tower showed me a good temperature would be betwee 265°C and 270°C. I opted for the 265°C, as I would be printing PLA concurrently, and I did want to keep that temperature difference as low as possible.
The filament settings for the temperature tower inspired me to use similar settings for the actual print.
PET-G Settings
Filament Settings
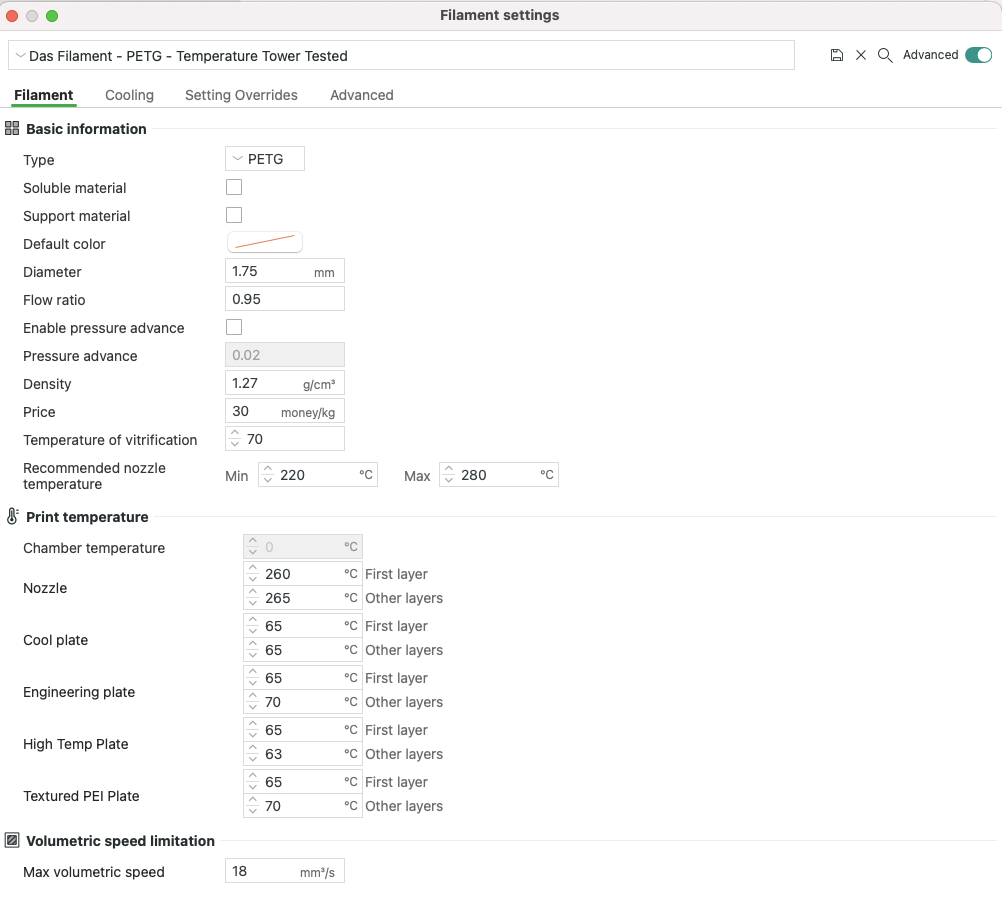
As I was going to print on the Textured Plate, I changed the temperature settings for the plate first (see below), I went a bit lower for the first layer to avoid warping. Warping would also be potentially compensated by raft layers.
I also adapted the temperature range to avoid warnings.
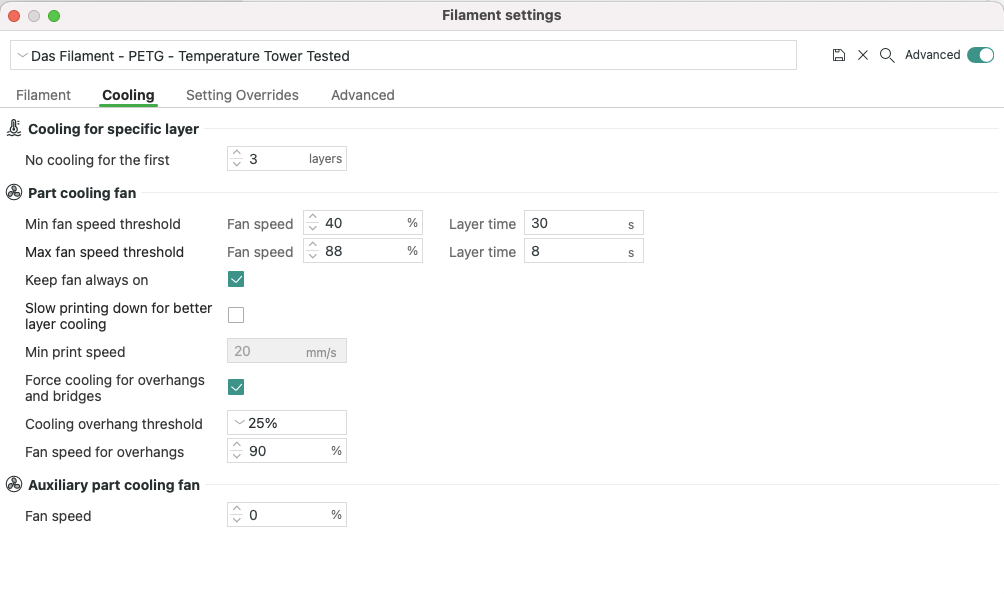
Cooling Settings
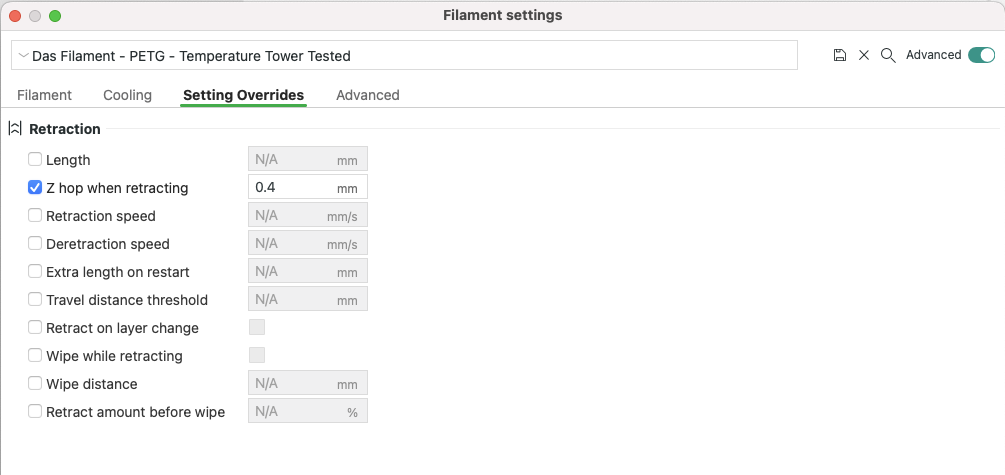
Setting Overrides
PLA Settings
For the support material, I pushed it up in terms of temperature as I had suspected the temperature differences being responsible for the brittleness of the final product. Here are the settings:
Filament Settings
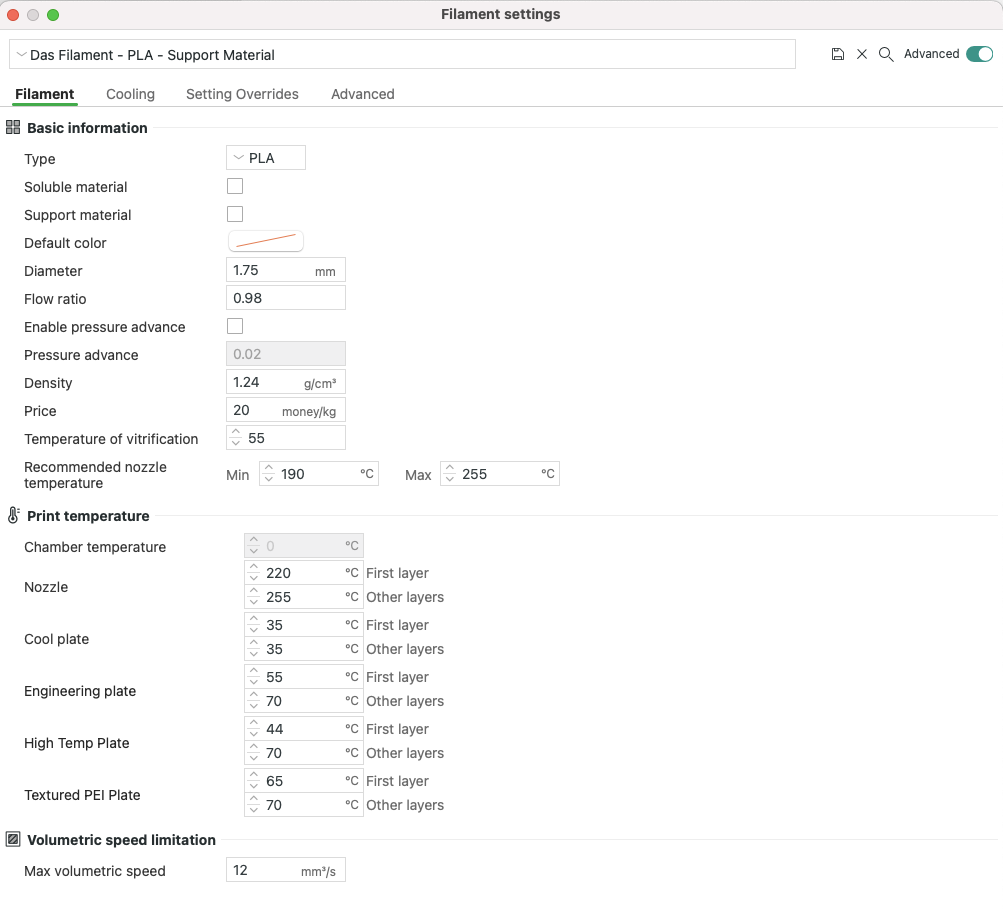
255°C for PLA seem to be a bit extreme, but I wanted to remain close to the PET-G settings of 265°C. See also below for the clogging I got in the PLA tube.
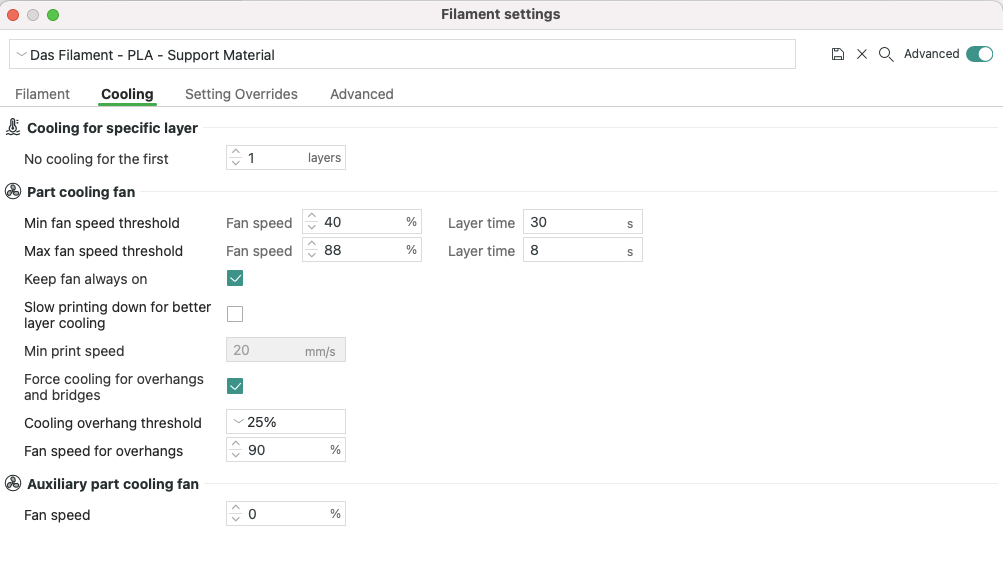
Cooling Settings
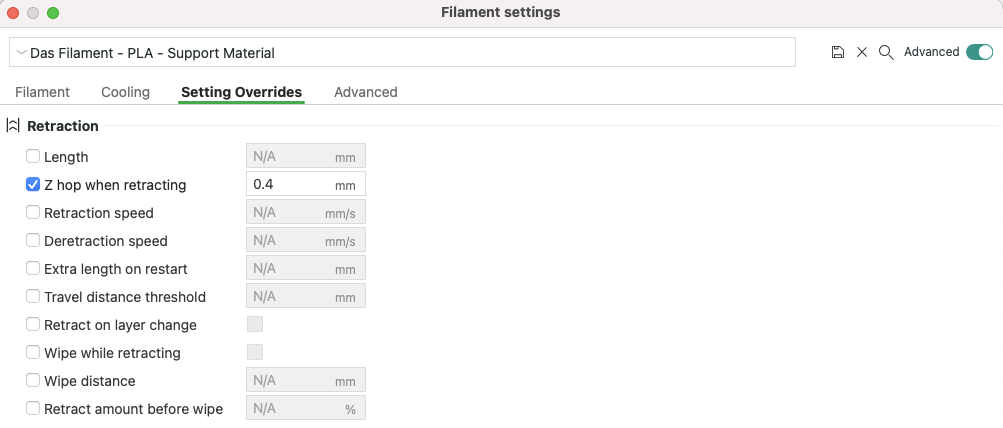
Setting Overrides
Object Settings
For the print object, here are the settings I made:
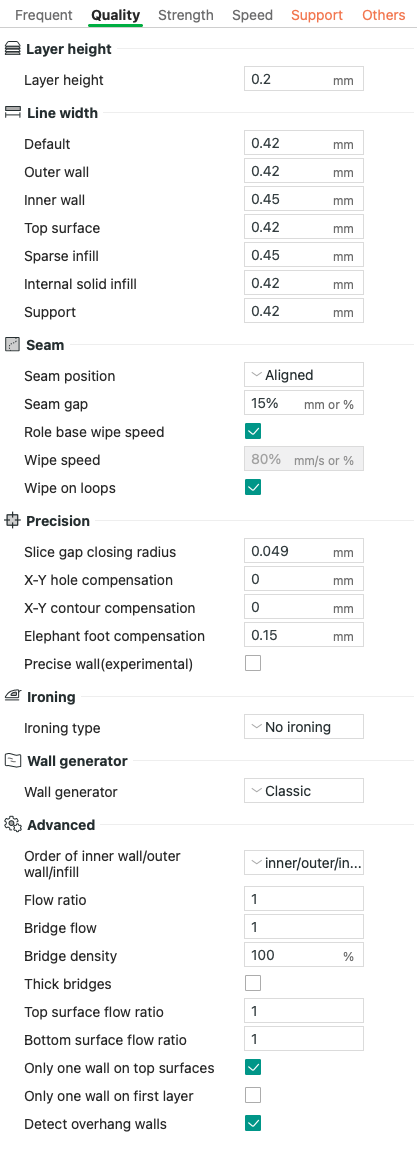
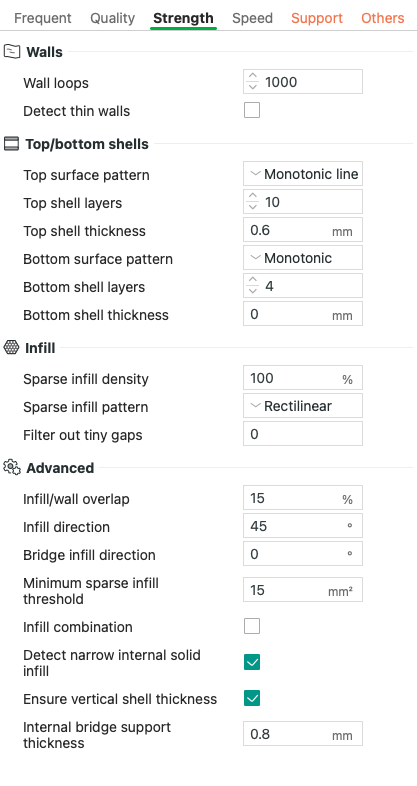
Quality Settings
Strength Settings
I went for 1000 wall loops as my print object would have a thread and I wanted it to be as sturdy as possible:
Speed Settings
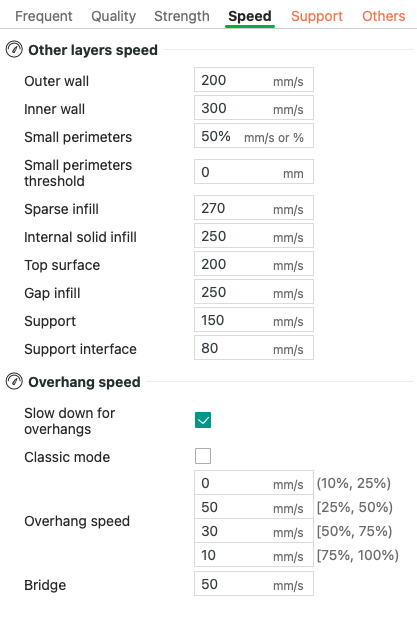
I was printing standard speed.
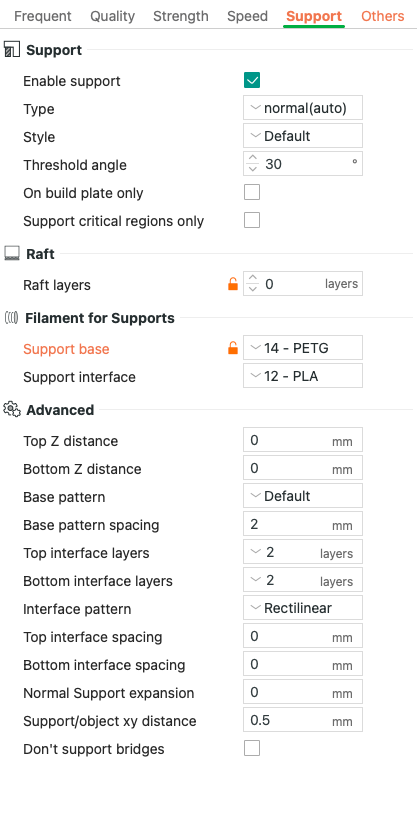
Support Settings
As you can see, I used PLA only as support interface, and used zero interface spacing.
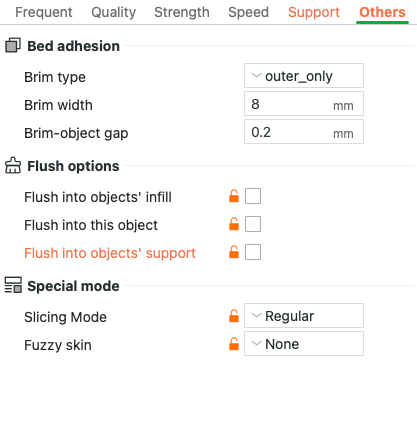
Other Settings
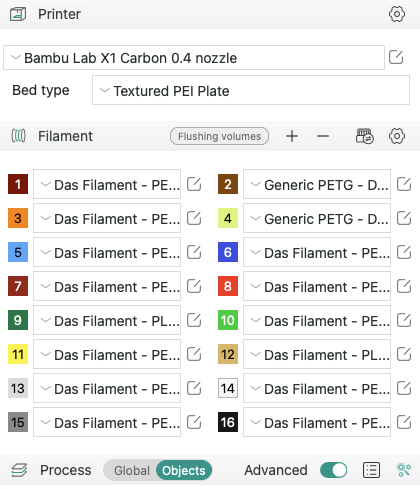
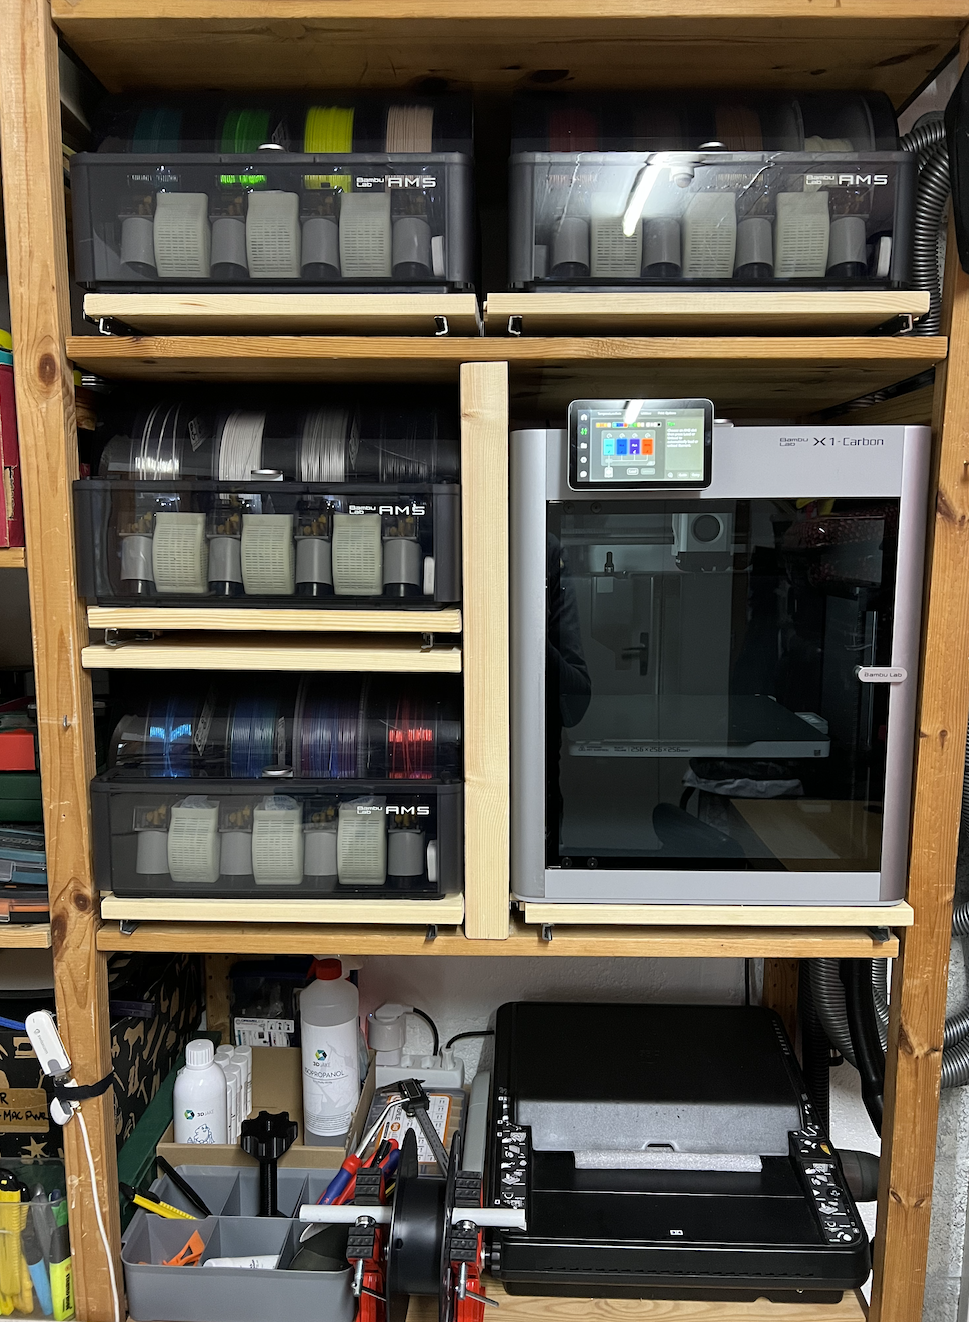
Filament Choice
As I have 4 AMS, I’ve some material to choose from; I print mostly PET-G, so I’m showing below those settings. As you can see above, I used 15 for main material and 12 for support. It’s a good thing to have a slightly off color so that while can keep a low purge volume and still avoid color bleed, you can still see the support material clearly on the printed object.
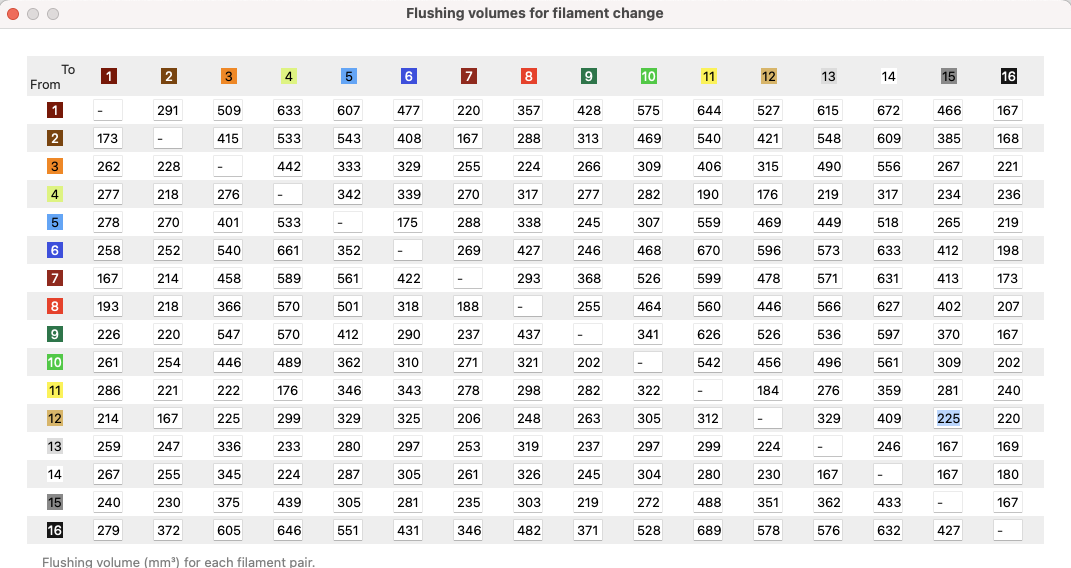
Purge Volumes
Here are the purge volumes I used:
Example
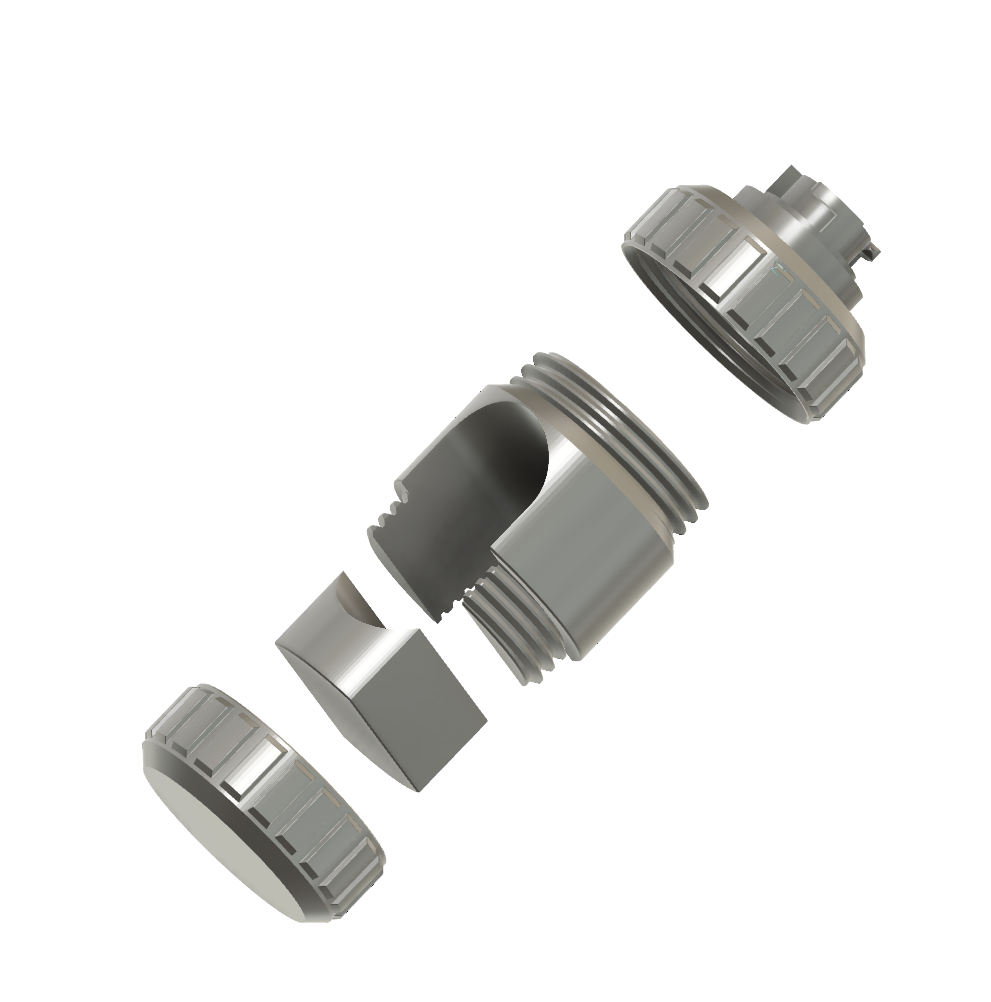
Sample Construction
The holder of my Philips Aquatunes shower radio broke. So I constructed a new one:
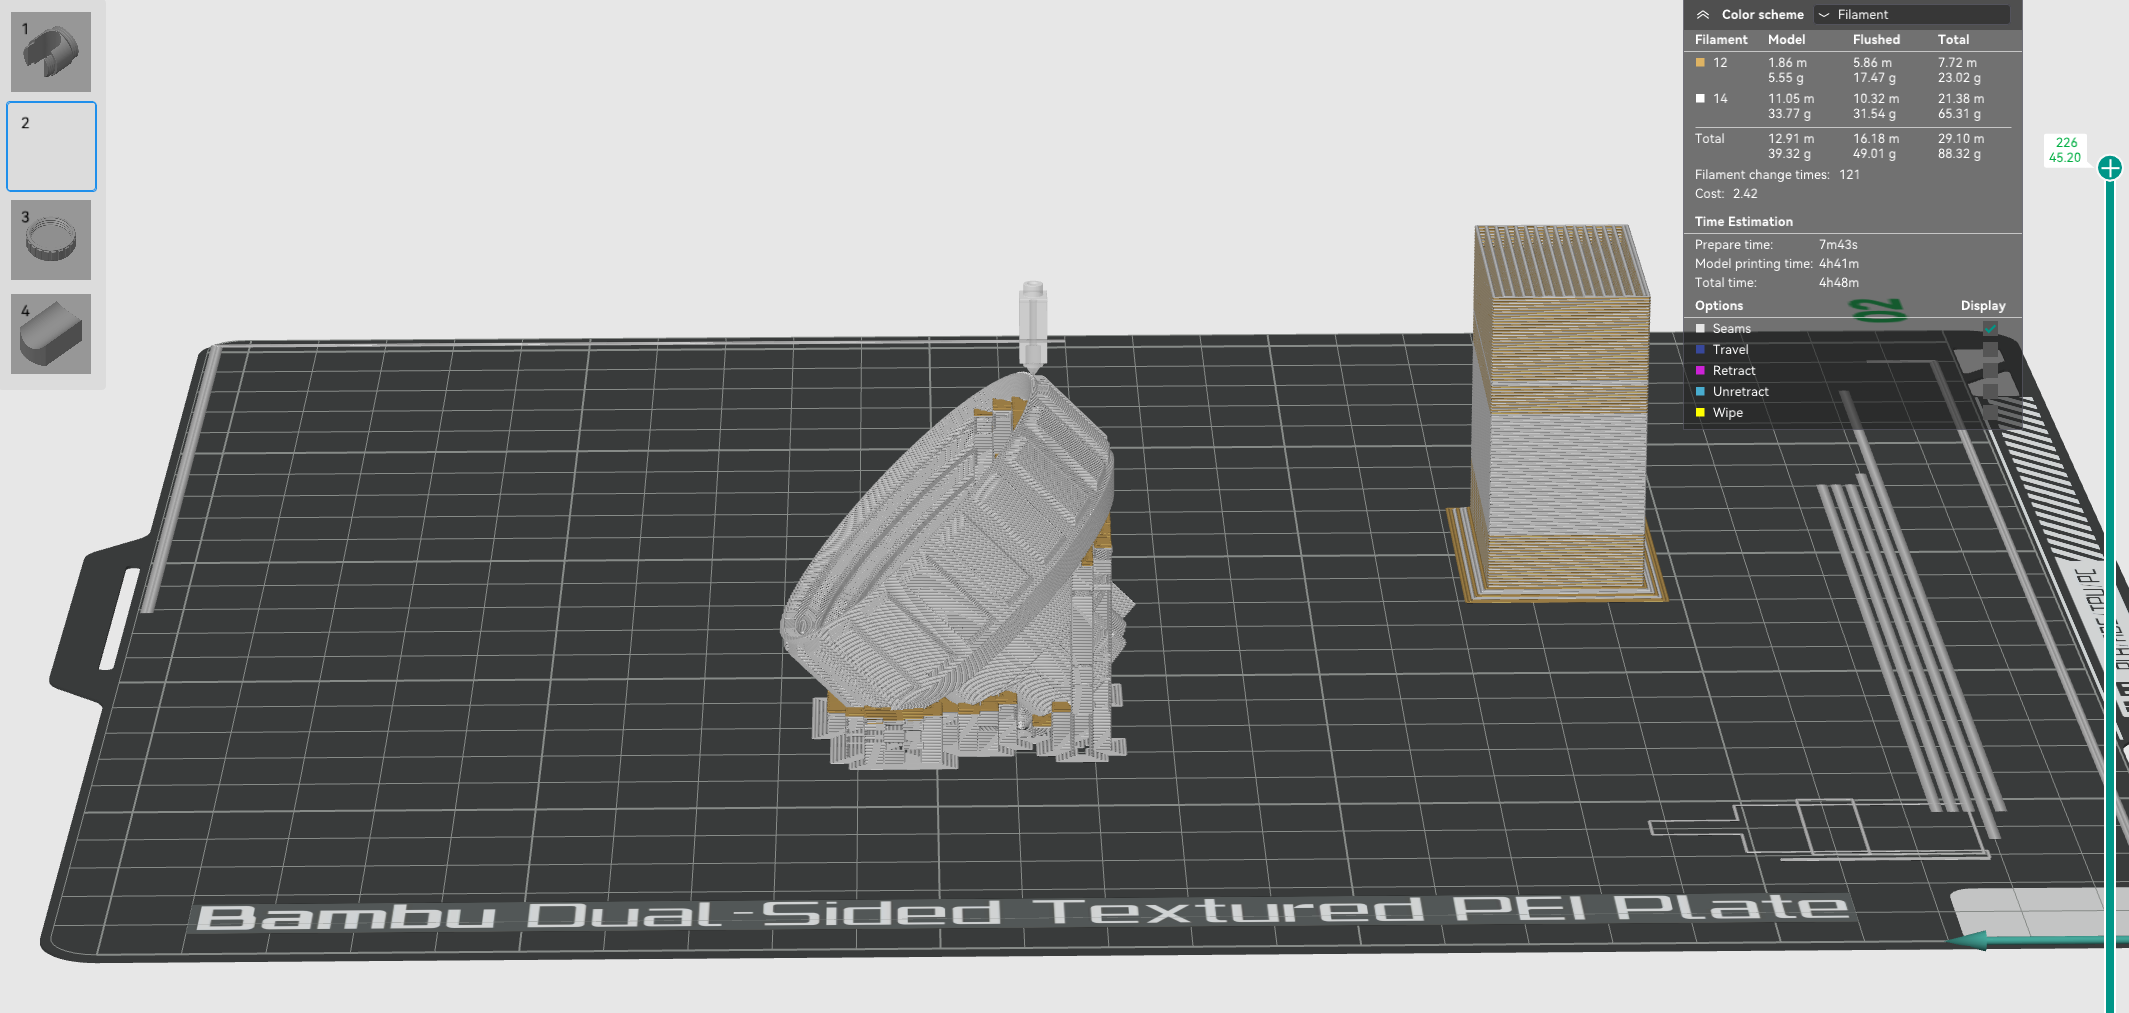
Slicing Example
The base mount (the "U" shape in the above construction) as well as the radio holder I printed at a 45° angle to avoid having layer lines at the base of the weak parts (e.g., the axle or the sides of the "U"):
The Result

The picture shows a break line which has nothing to do with the design; I had some issues with the poop chute, and a helping hand removed some of the material while printing – but happened to bump against the build plate. Also you can see that the back screw does not fit snugly to the base mount; the desing is actually better, but because of all the experiments, at one point I broke off the print of that part and decided it was good enough.
Issues
Retraction Issue / Clogged PTF-E Tube
One issue was that towards the very end of the print process, the PLA didn’t retract. I had had similar issues before due to the somewhat longer PTF-E tubes I needed for my 4 AMS Setup:
Because of the way I’ve set up the printer, I have slightly longer PTF-E tubes. I had had retraction problems for a while until I managed to get it right.
So my initial reaction at the retraction problem during this print was to just give it a little tug. This worked, and I unfortunately ignored the clear "scratching" sound the PLA filament did when being retracted.
A short while later I got another clog, and I saw that the filament was actually stuck in the tube – between the AMS and the hub. I had to dismount that tube during the print and replace it:
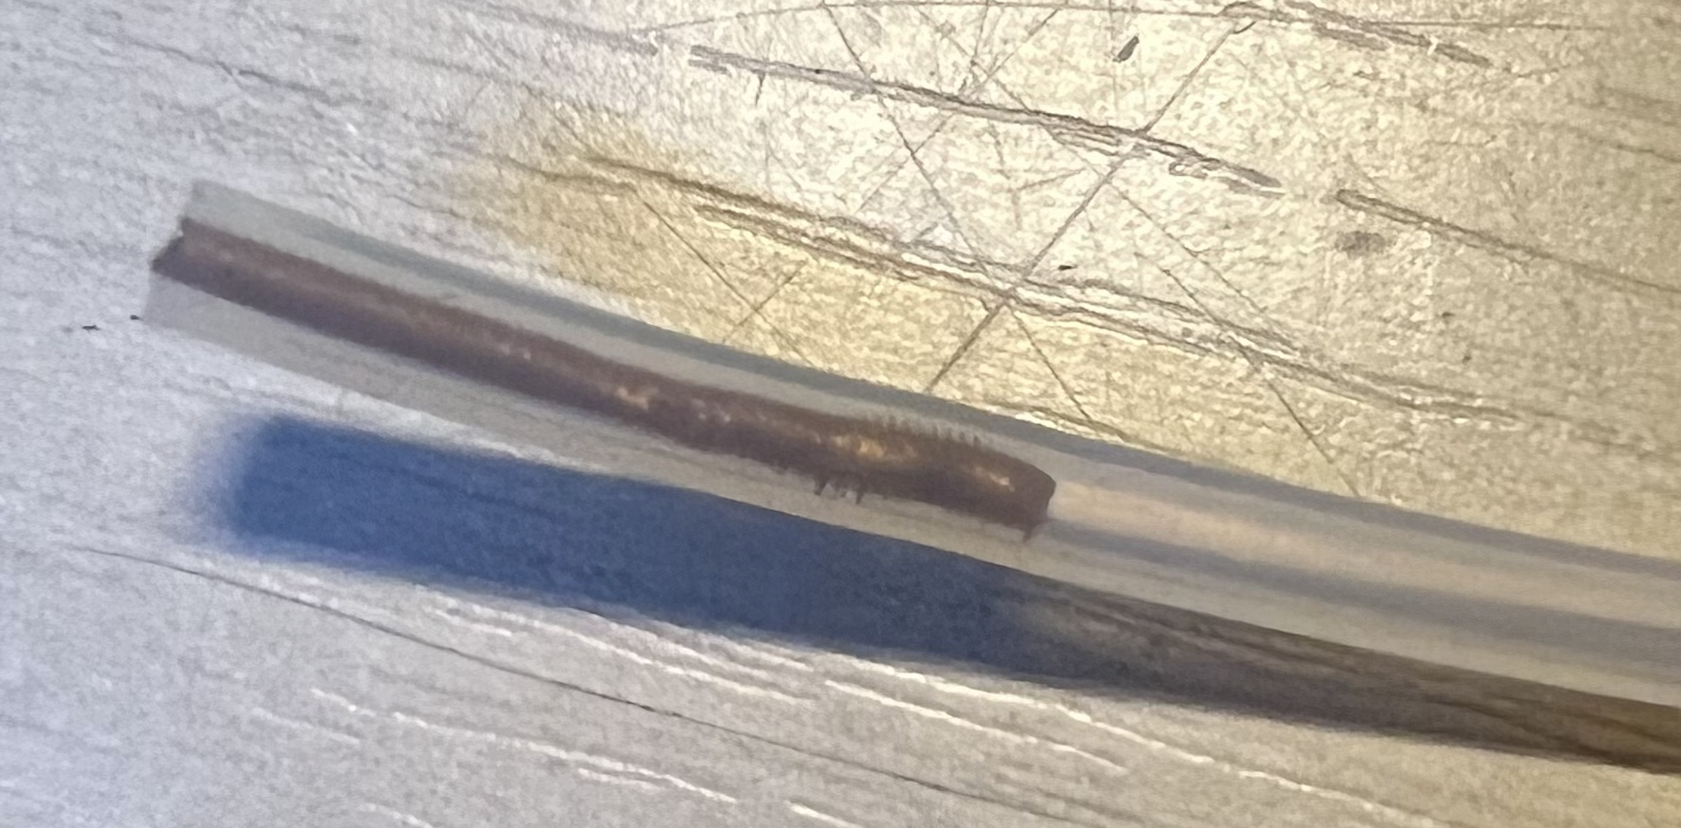
As you can see, the filament was softened by the higher temperature, probably around the extruder, and ultimately got stuck. So there are three learnings in this context:
- I need to further fiddle with the settings should this problem reoccur
- If it gets stuck first time, I’ll have to pull it out entirely and cut off the end of it
- It’s always useful to have some surplus PTF-E tubes lying around. The company Schlauch24.de has the correct tubes (2mm inner diameter / 4 mm outer diameter; their article number being PT-FE-002)
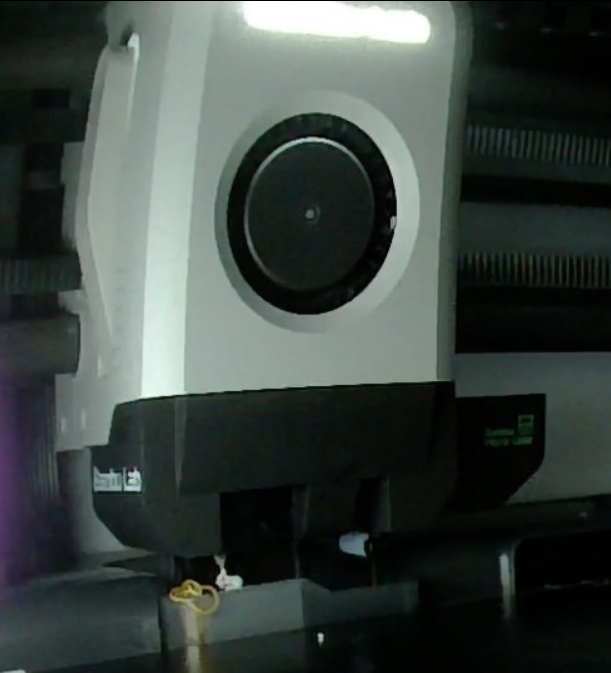
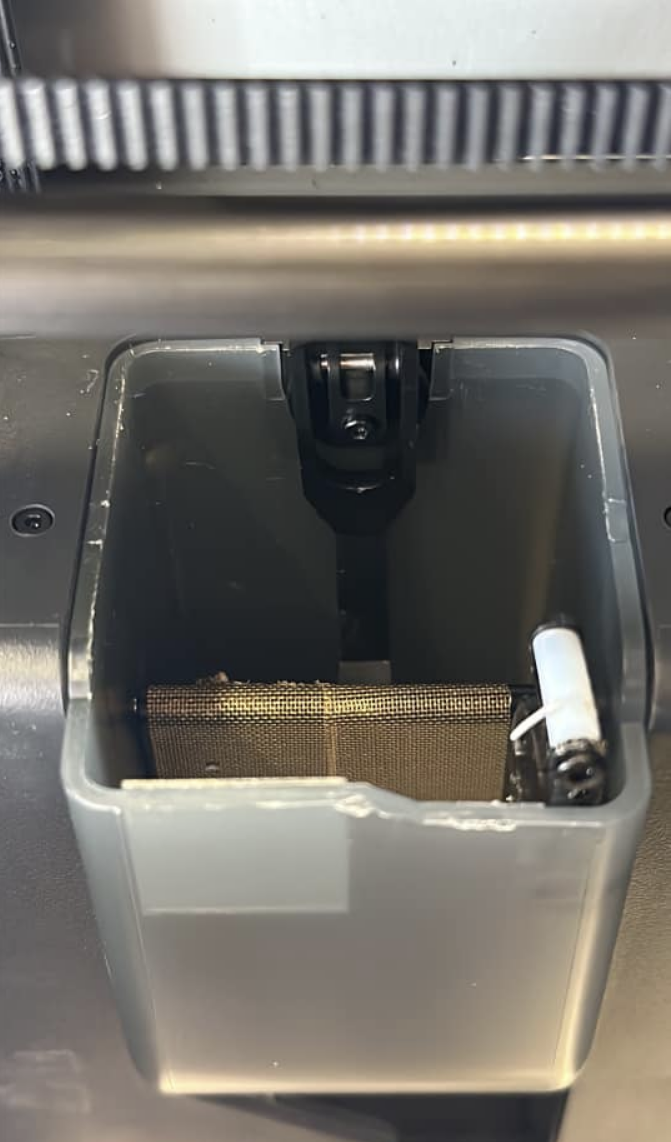
Poop Chute Problem
When purging the filament, it tended to get stuck in the poop chute, building up and ultimately throwing an error:
I removed it manually (which comes at a risk, see above), but it is of course annoying. On the Unofficial Facebook group, Dale Larsen suggested to use some teflon tape:
I haven’t tried that, but have the tape on backorder.
Summary
So in summary using PLA as a support filament for PET-G does work quite well. It comes at some expense if you have to try out things, but the most important thing is to get the temperatures right.
The retraction problem is certainly the one that needs more research.