
Introduction
After watching this amazing video by Matthias Schwaighofer, I decided to explore printing TPU on my Bambulab X1C. In his video, Matthias shows a spool holder that allows the spool to roll much more easily compared to the holder that comes with the printer.
General Setup
Below you can see my general setup (and my print operators; no animals were harmed during these tests, though they would claim otherwise):
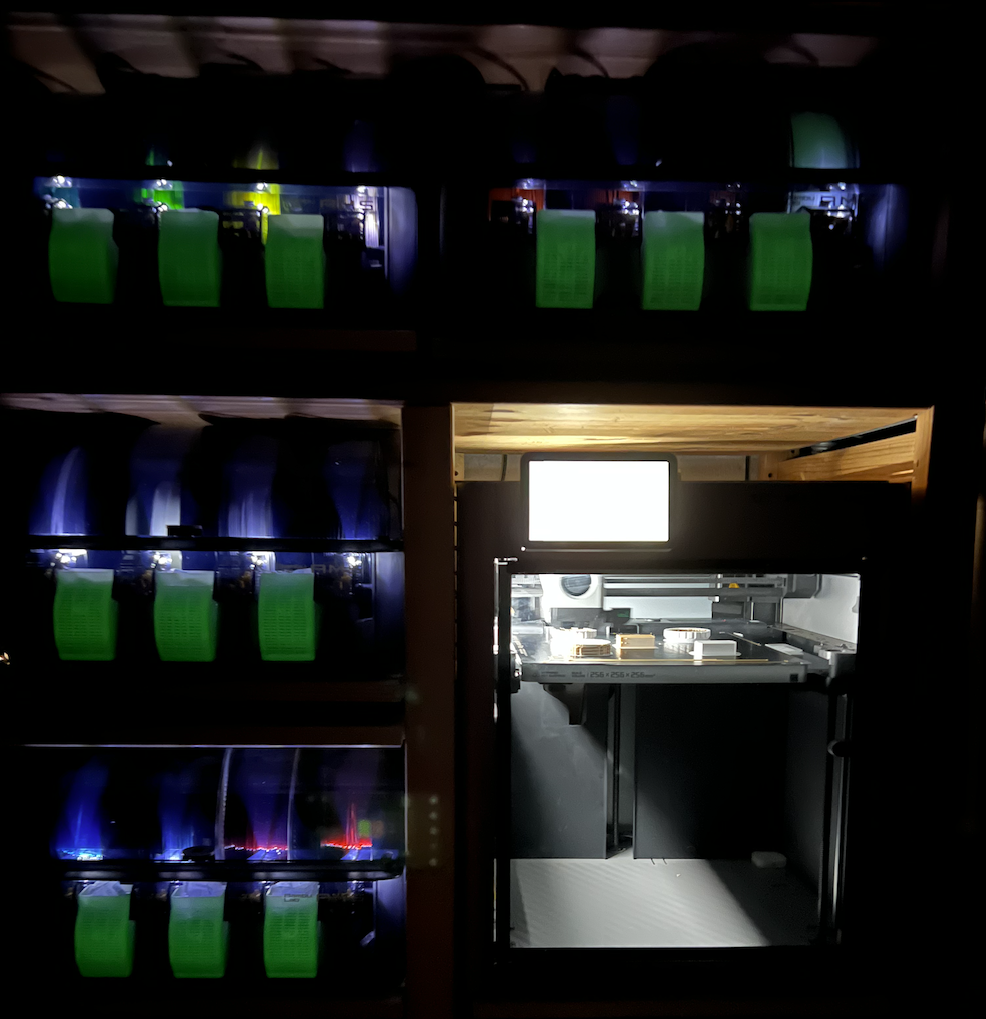
- Everything is fit into a 50 cm x 80 cm Ikea Ivar shelf.
- I’ve added rolling desks using some cheap rails (that I got at about no cost as spare parts from Ikea), so I can pull out each AMS and also the printer
- The AMSes are as close as possible to the printer to allow for keeping the filament tubes short
- This does not allow me to mount the external spool to the side of the printer in the way that Matthias Schwaighofer did in his video

I do though have the option to pull out the printer:

And here is how it looks at night… (an older picture):
Creation of a Spool Holder
That setup allows me to find space for the extra spool holder behind the printer:

So as you can see I’ve modified Matthias Schwaighofer’s spool holder. As the download link under his video only provided the Bambu Studio project with the embedded STEP files, I have recreated the model entirely. You can find it here:

The actual roller is made in two parts, so that it can be printed upright:

Here is how it looks in detail:

Usage of the Spool Holder
Pulling forward the printer and one AMS gives the the option of using the spool holder:

You can see the “Y-Splitter” that I’ve also printed. I used this excellent model and from it the version titled No-Catch Y-Splitter Peek-a-boo (M3x8 mount-looser threads).3mf. I did not put in any PTF-E tube for the manual feeding hole as it would be annoying pushing the whole contraption back for when I’m not using the external spool. The TPU filament went in very smoothly the way you can see it above.
The spool is completely full and, hence, very heavy. At the same time, it rolls very easily on the holder, so that contraption is excellent. Thanks, Matthias Schwaighofer, for sharing his version; I’ve just adapted the mount point for my setup. If you have a free-standing printer, his version is probably even better, as it makes the spool accessible on the side of the printer; I did not have space for that.
Challenges, challenges, challenges
But then, anyway, after all this preparation, the printing did not work. First the filament was pulled in, but then did not come out of the nozzle. So the first thing I did was to replace the nozzle with a brand new 0.4 mm one. The filament came through now (and I’ve one more nozzle to clean), yet then while printing, the printer was at some point just “printing hot air.” An investigation showed this:

So the reasoning was that either I was printing at the wrong temperature, at the wrong speed, or just the filament retraction was pulling back too much and hence crumbling the filament.
Solutions, solutions, solutions
or, should I say, settings, settings, settings… Anyway, here are the things that I did
Filament Settings
Speed and Temperature
I changed the temperature settings to slightly above what was indicated on the spool; the manufacturer wrote 220°C for the nozzle temperature and 20°C for the bed; as shown below, I increased it slightly to 230°C and 40°C, to have a better bed adhesion.

Volumetric Speed
Most importantly, I reduced the speed from 3.2 mm^3/s to 2 mm^3/s.
Retraction

Interestingly, the default retraction setting for TPU is 0.4 mm, and I actually increased it to 1 mm. So that should make it worse, and apparently that was not the problem at all. I’ll test more forward going.
I made no other changes from the Generic TPU settings.
Model Settings
Quality

I changed about nothing in the “Quality” section; I was printing a vacuum seal, so I set the seam position to random; I wanted a clean surface, so I enabled ironing.
Strenght

The obvious 1000 walls for having no infill; this of course depends on your model.
Support

I was worried that pulling out the support might potentially rip apart my piece, but the above settings went just fine.
Brim

I finally needed not brim at all, but just for reference I found that a brim of 0.3mm or even 0.4mm will do wonders in removing the brim while still keeping the model stable.
Print Job Settings

So when sending the job to the printer, you have to disable the AMS in the print dialogue. It also may make sense to allow for the flow dynamics calibration.
Print Speed Settings

Note that I had loaded the filament using the printer’s control panel before even sending the print job to the printer. Then, after sending the print job, after bed leveling but before the calibration would start, I set the pint speed to “silent” (i.e., 50%).
There may be better ways of controlling the speed – including the print settings in the slicer – but I’ve not yet had the time to figure out those alternatives.
Summary
With those settings, I was able to print my model in a repeatable manner.