
Same procedure as last year, Ms Sophie? I’ve had another round of checking Apple’s Thermal Paste, this time on two MacBook Air’s I’ve bought about a year ago. And, just like before, same problem.
The good thing is that the procedure is much faster on a MacBook Air. If you have the right tools available, as I have described at length in this post, you can get it done in probably 15 minutes per machine. Here is how it goes: First, having remove the back side of the MacBook air, this is what you see:
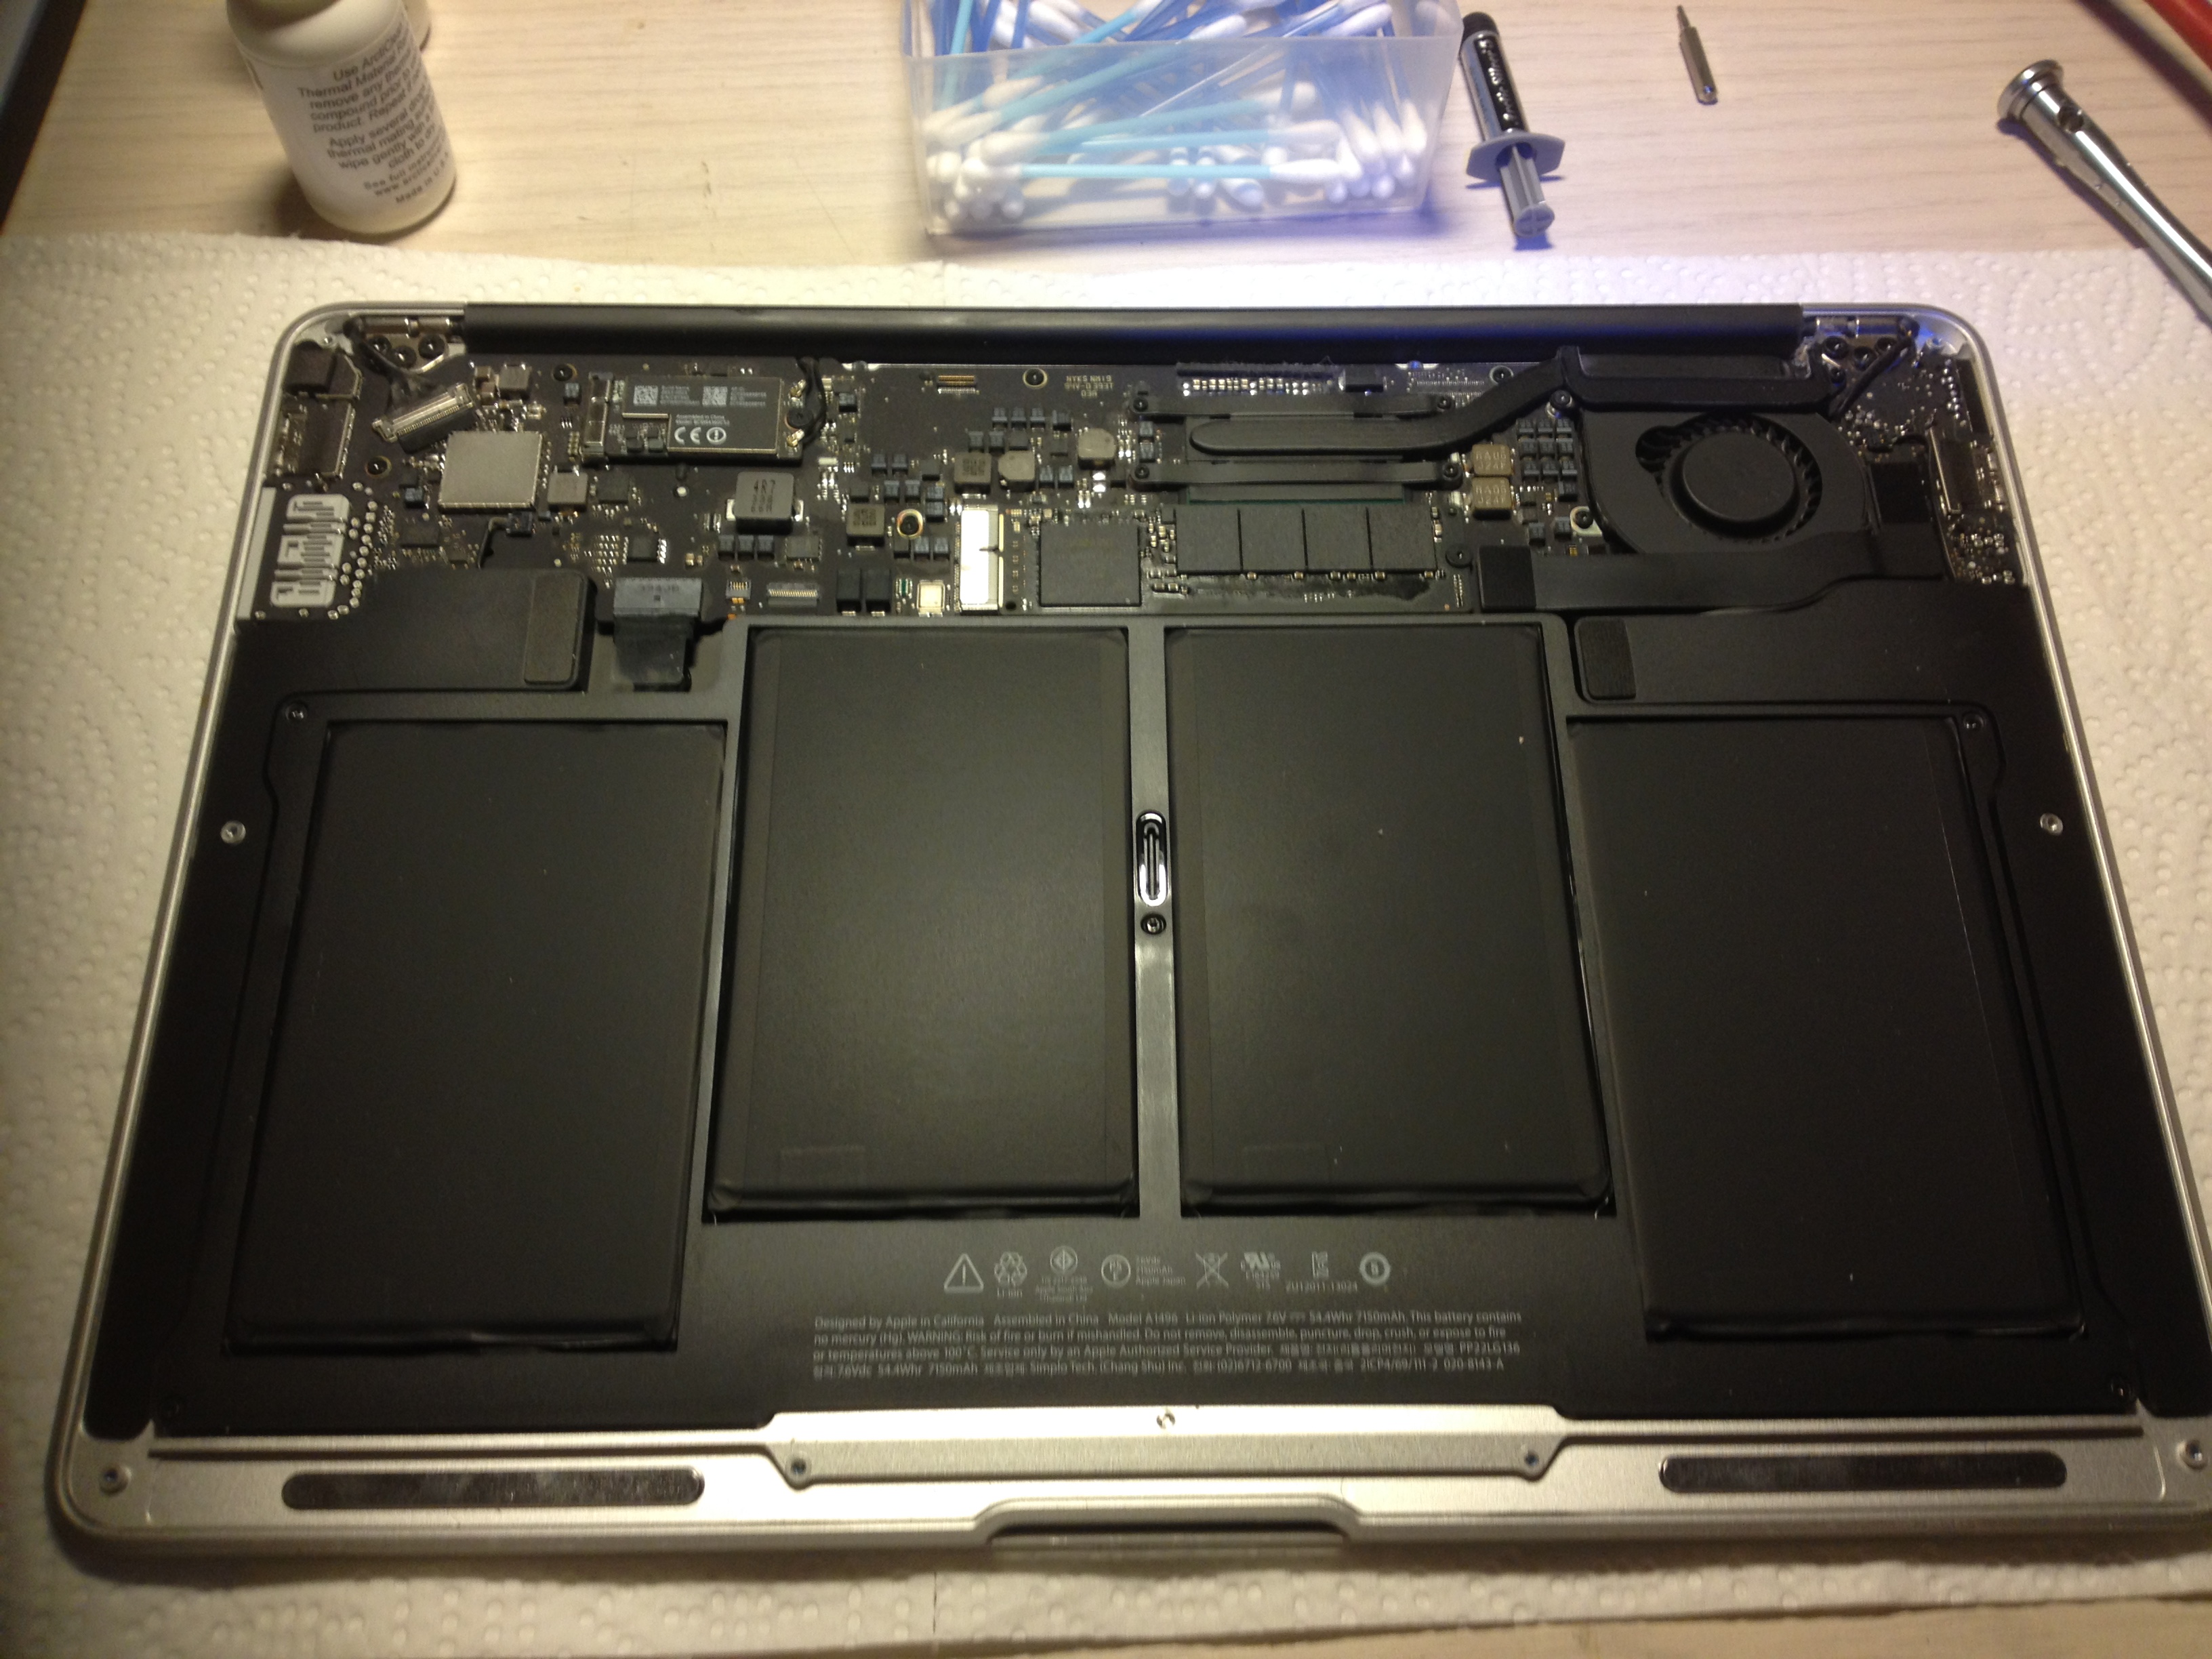
Notice the Battery Connector, which is of course the first one to remove (needless to say, you should have saved your data, have a backup, and shut down your machine…):
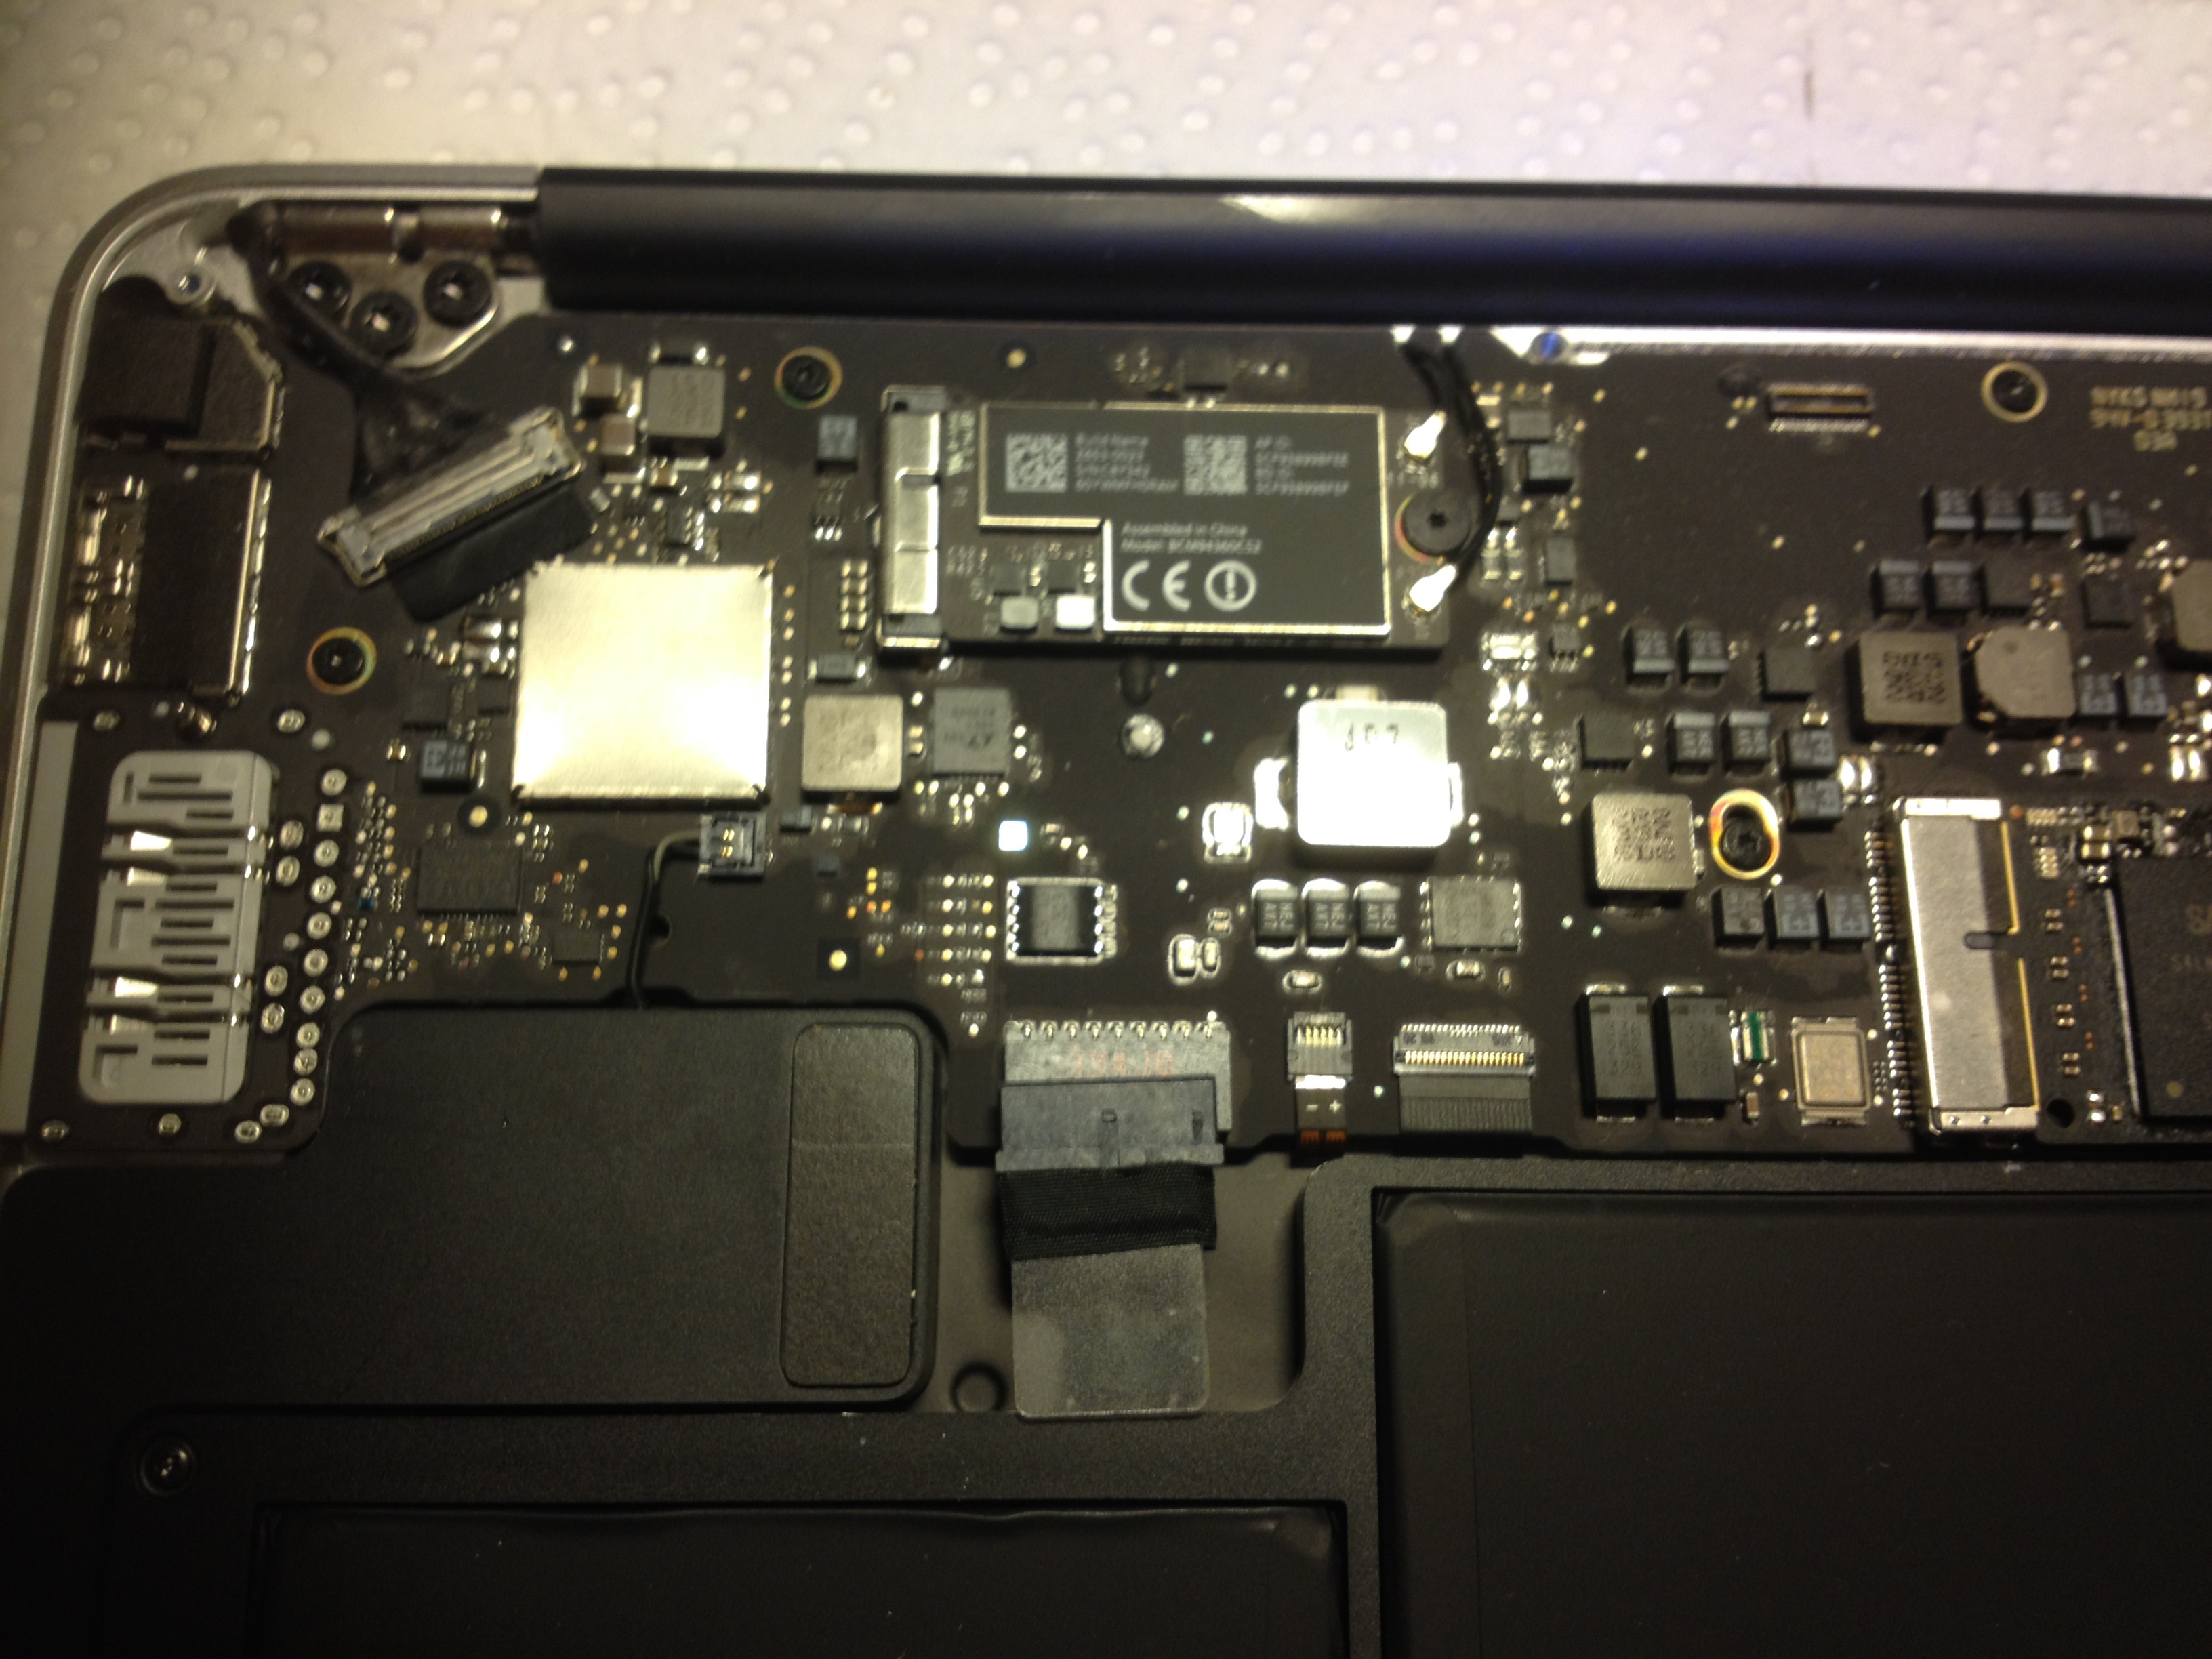
Once you have done that, here is where you want to look at:
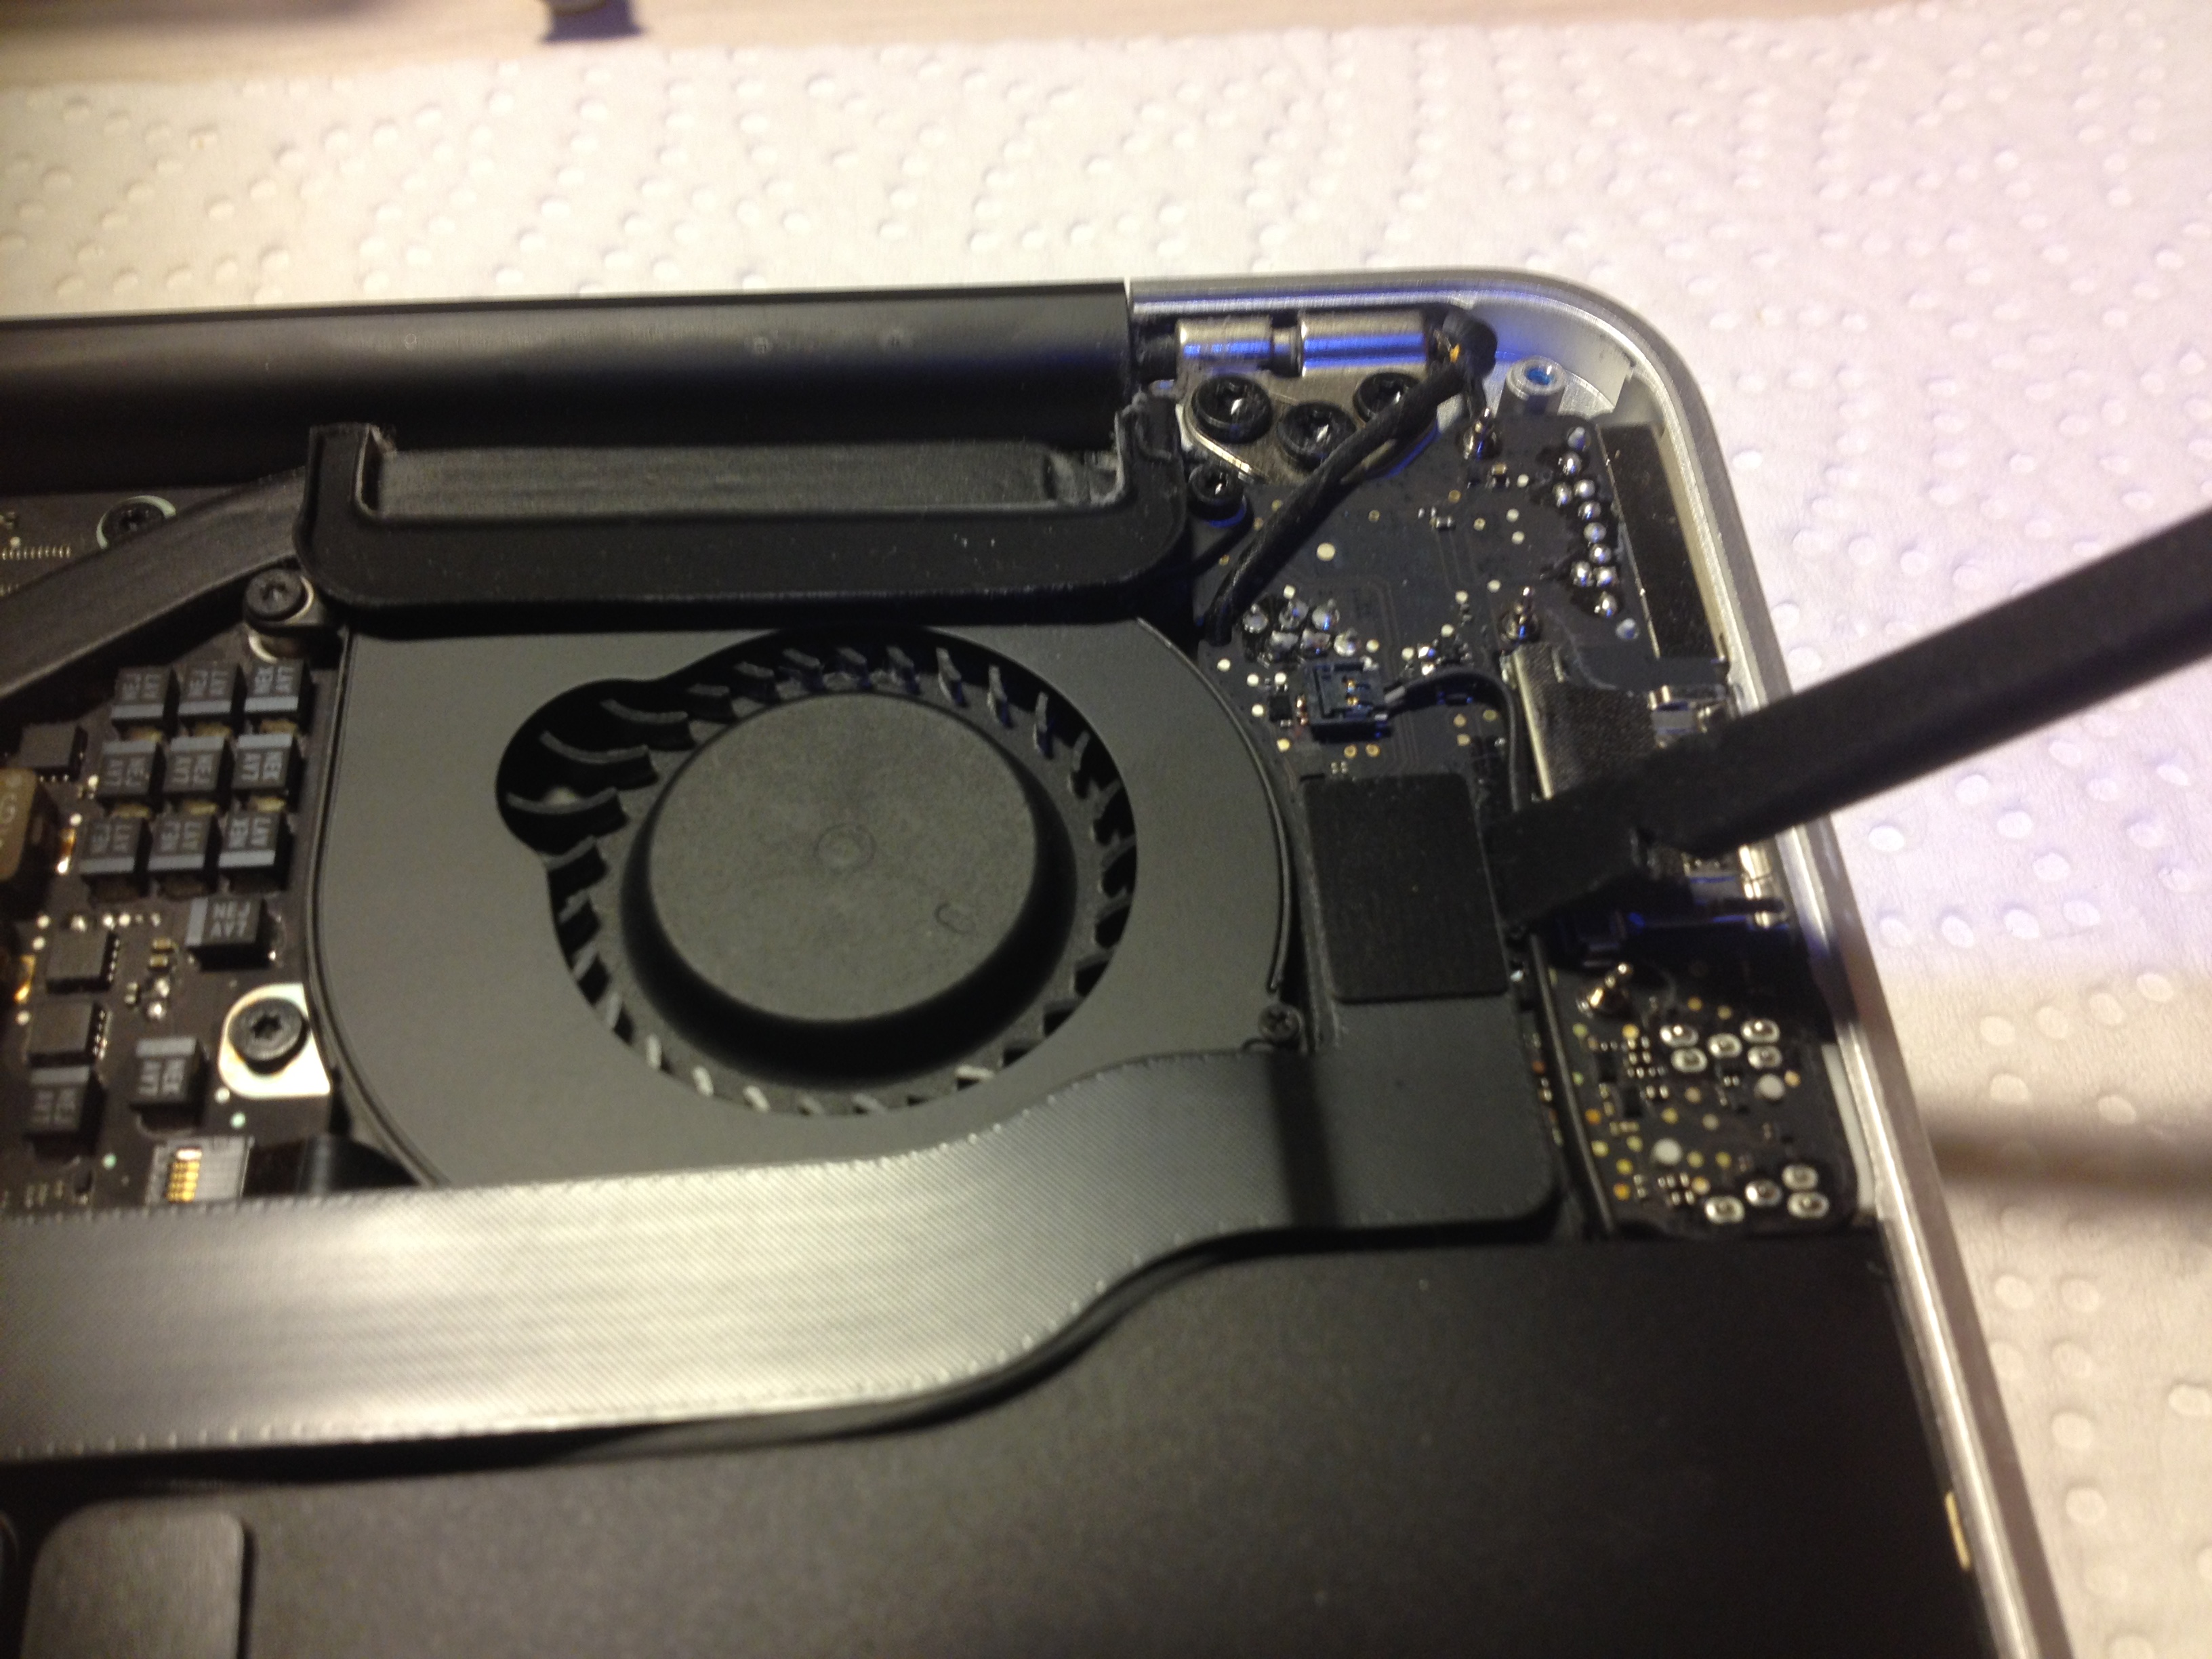
Below is the processor where you want to check for the heat paste. But before you do that, you’ll have to remove the fan. Notice that to the right, there is a slightly hidden screw, so you’ll need to carefully remove the rubber material to locate it:
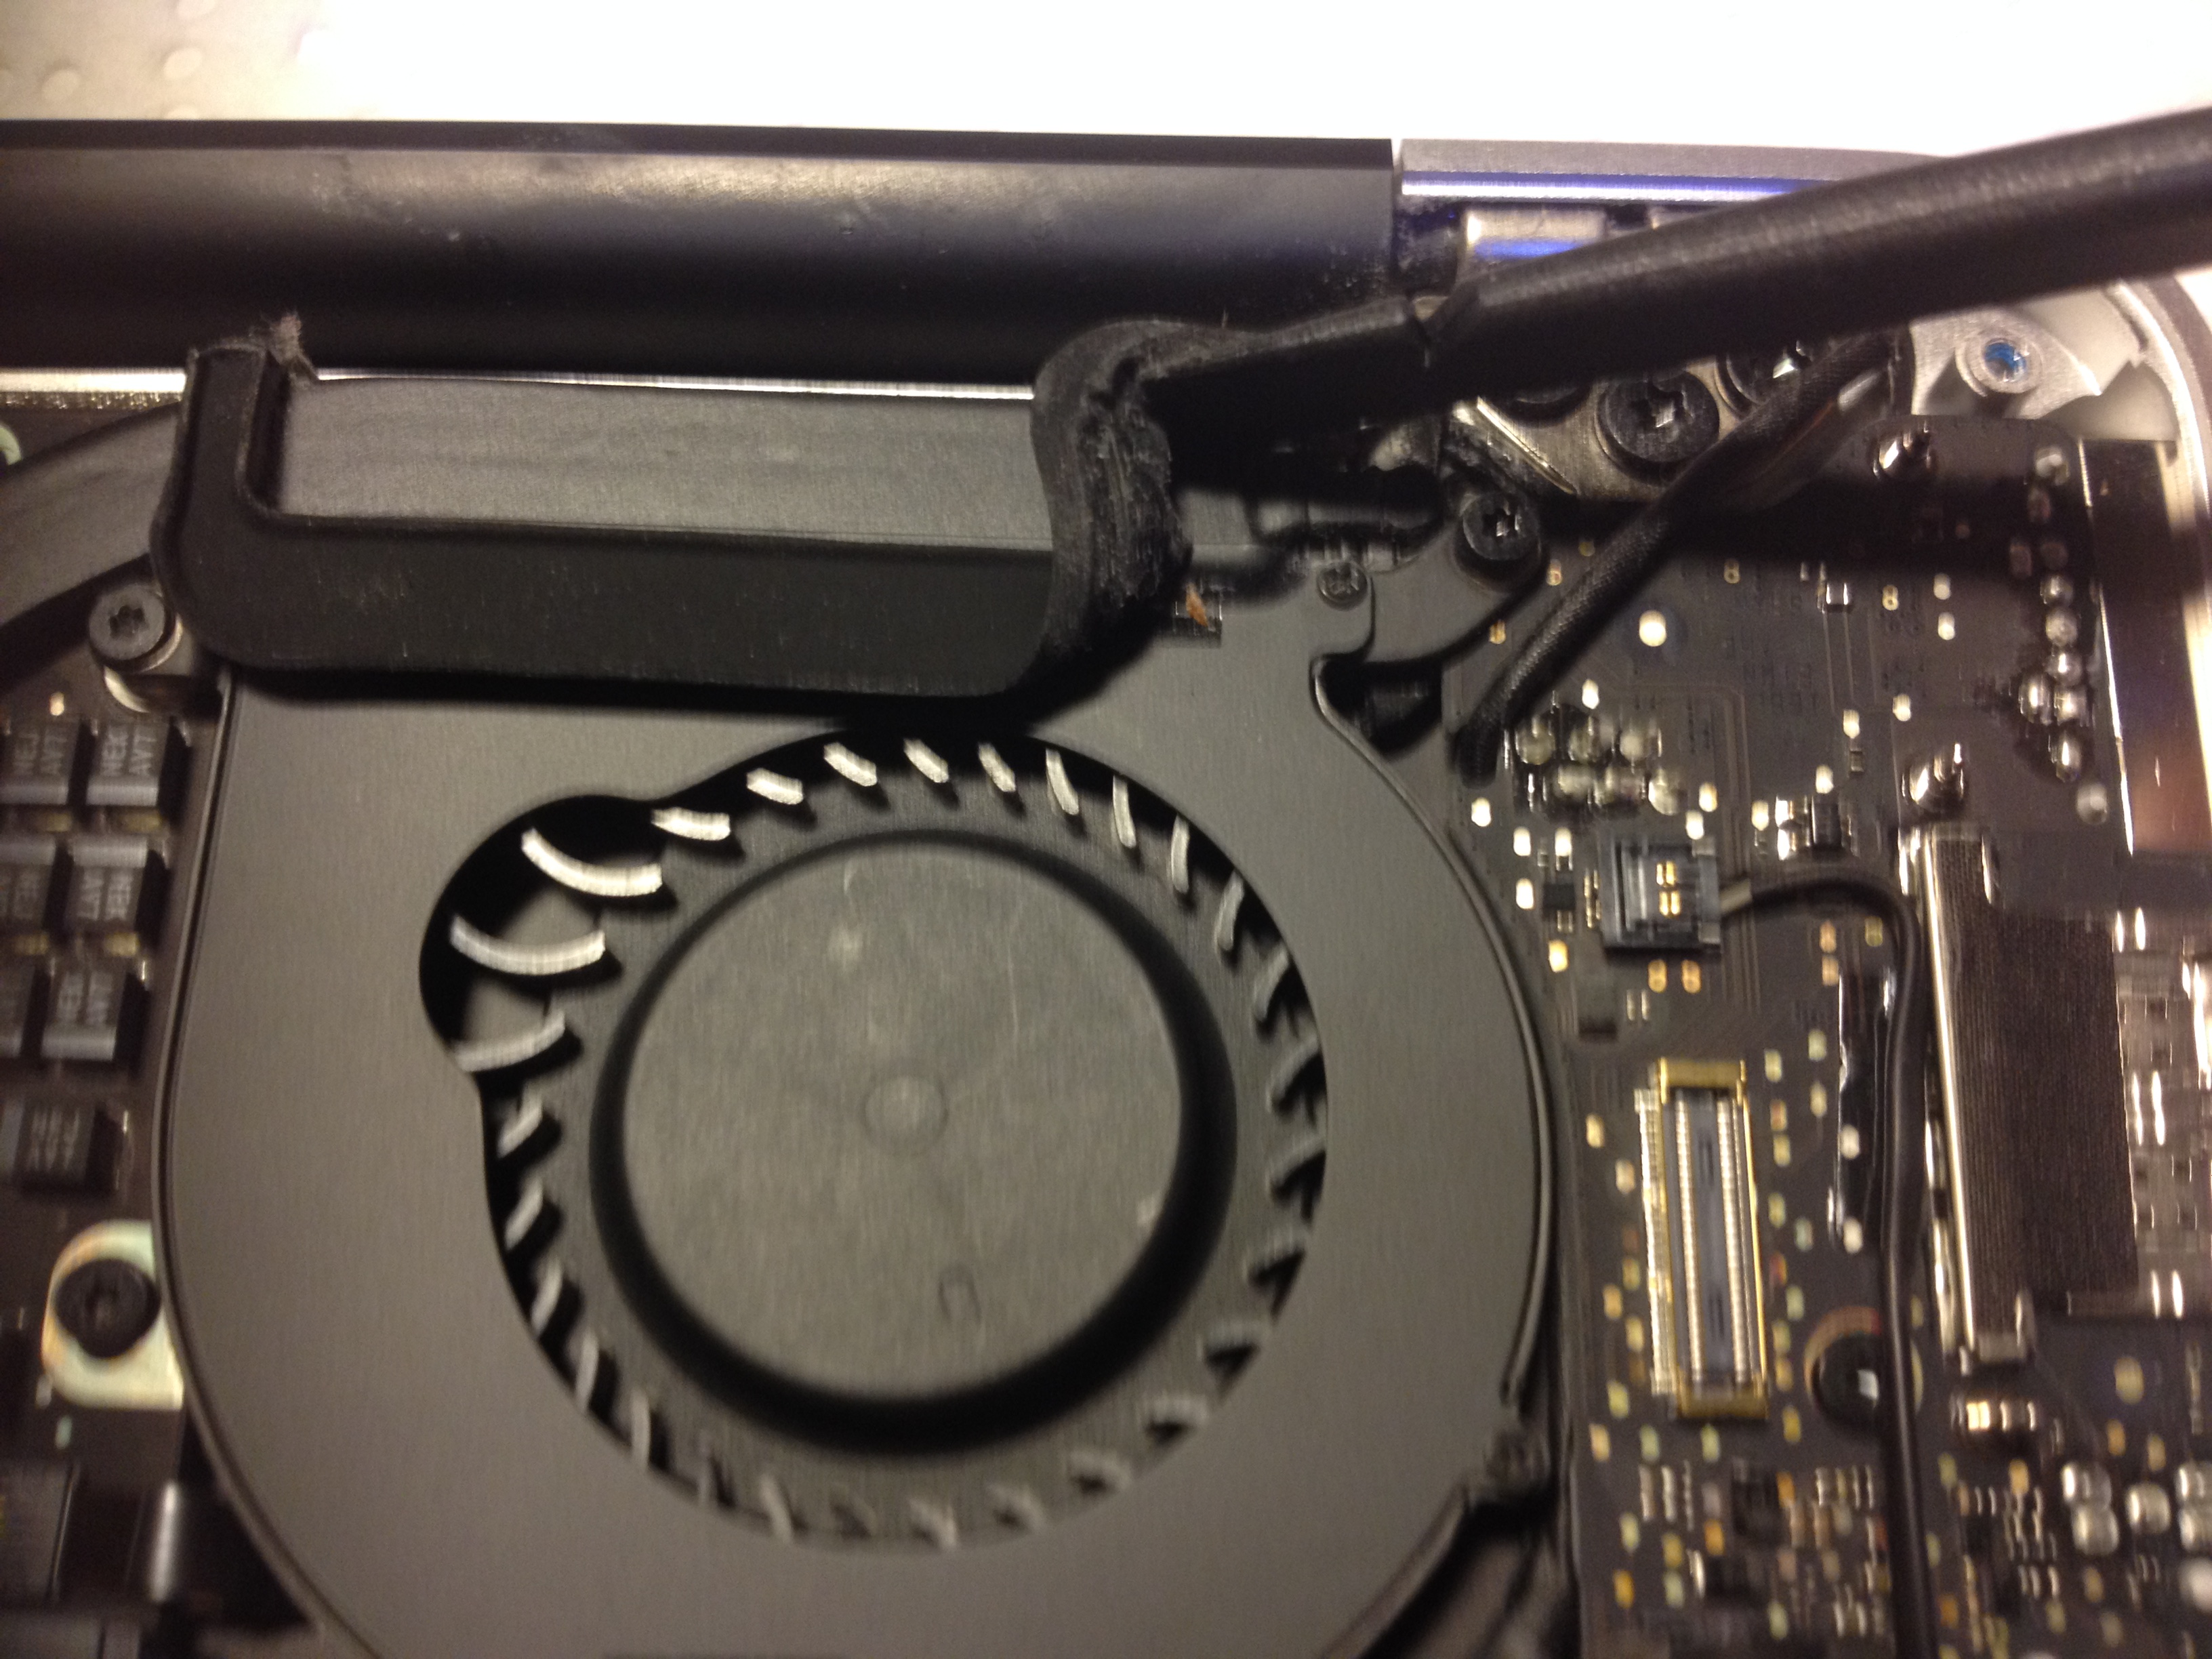
Before removing the Fan, you need to disconnect this cable:
Once you’ve done that, you can remove the fan (use the opportunity to clean the dust out of it):
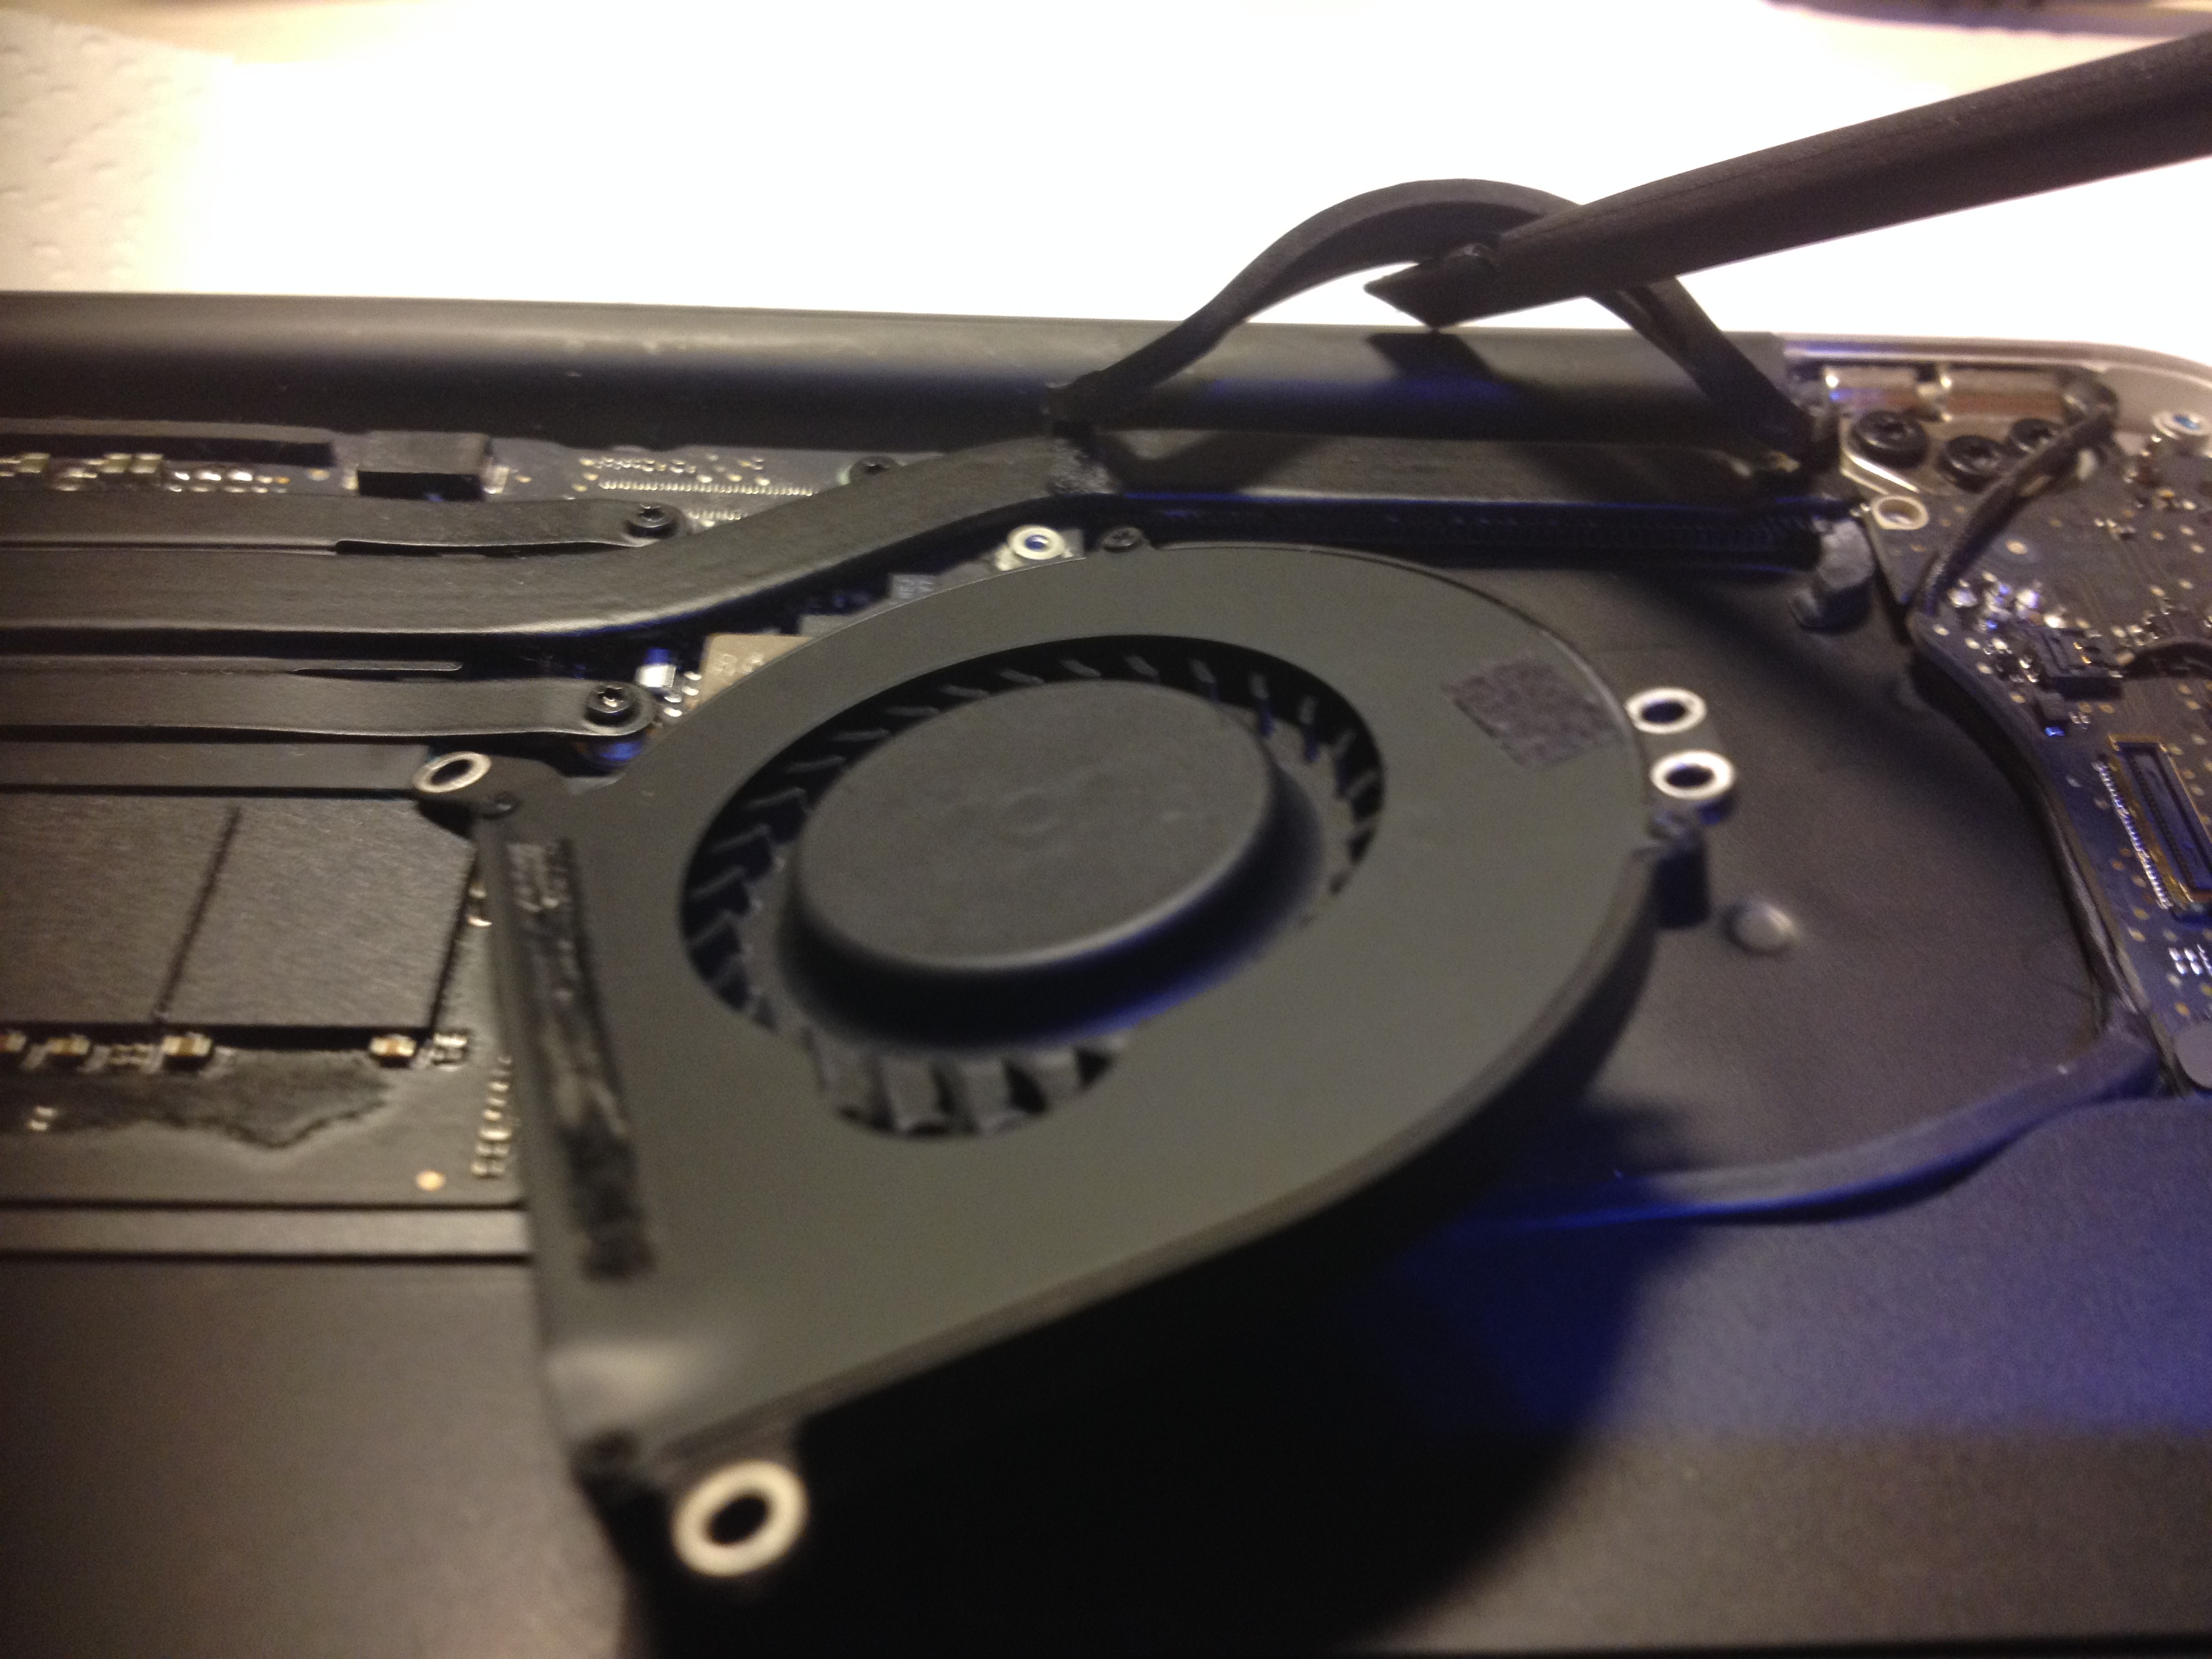
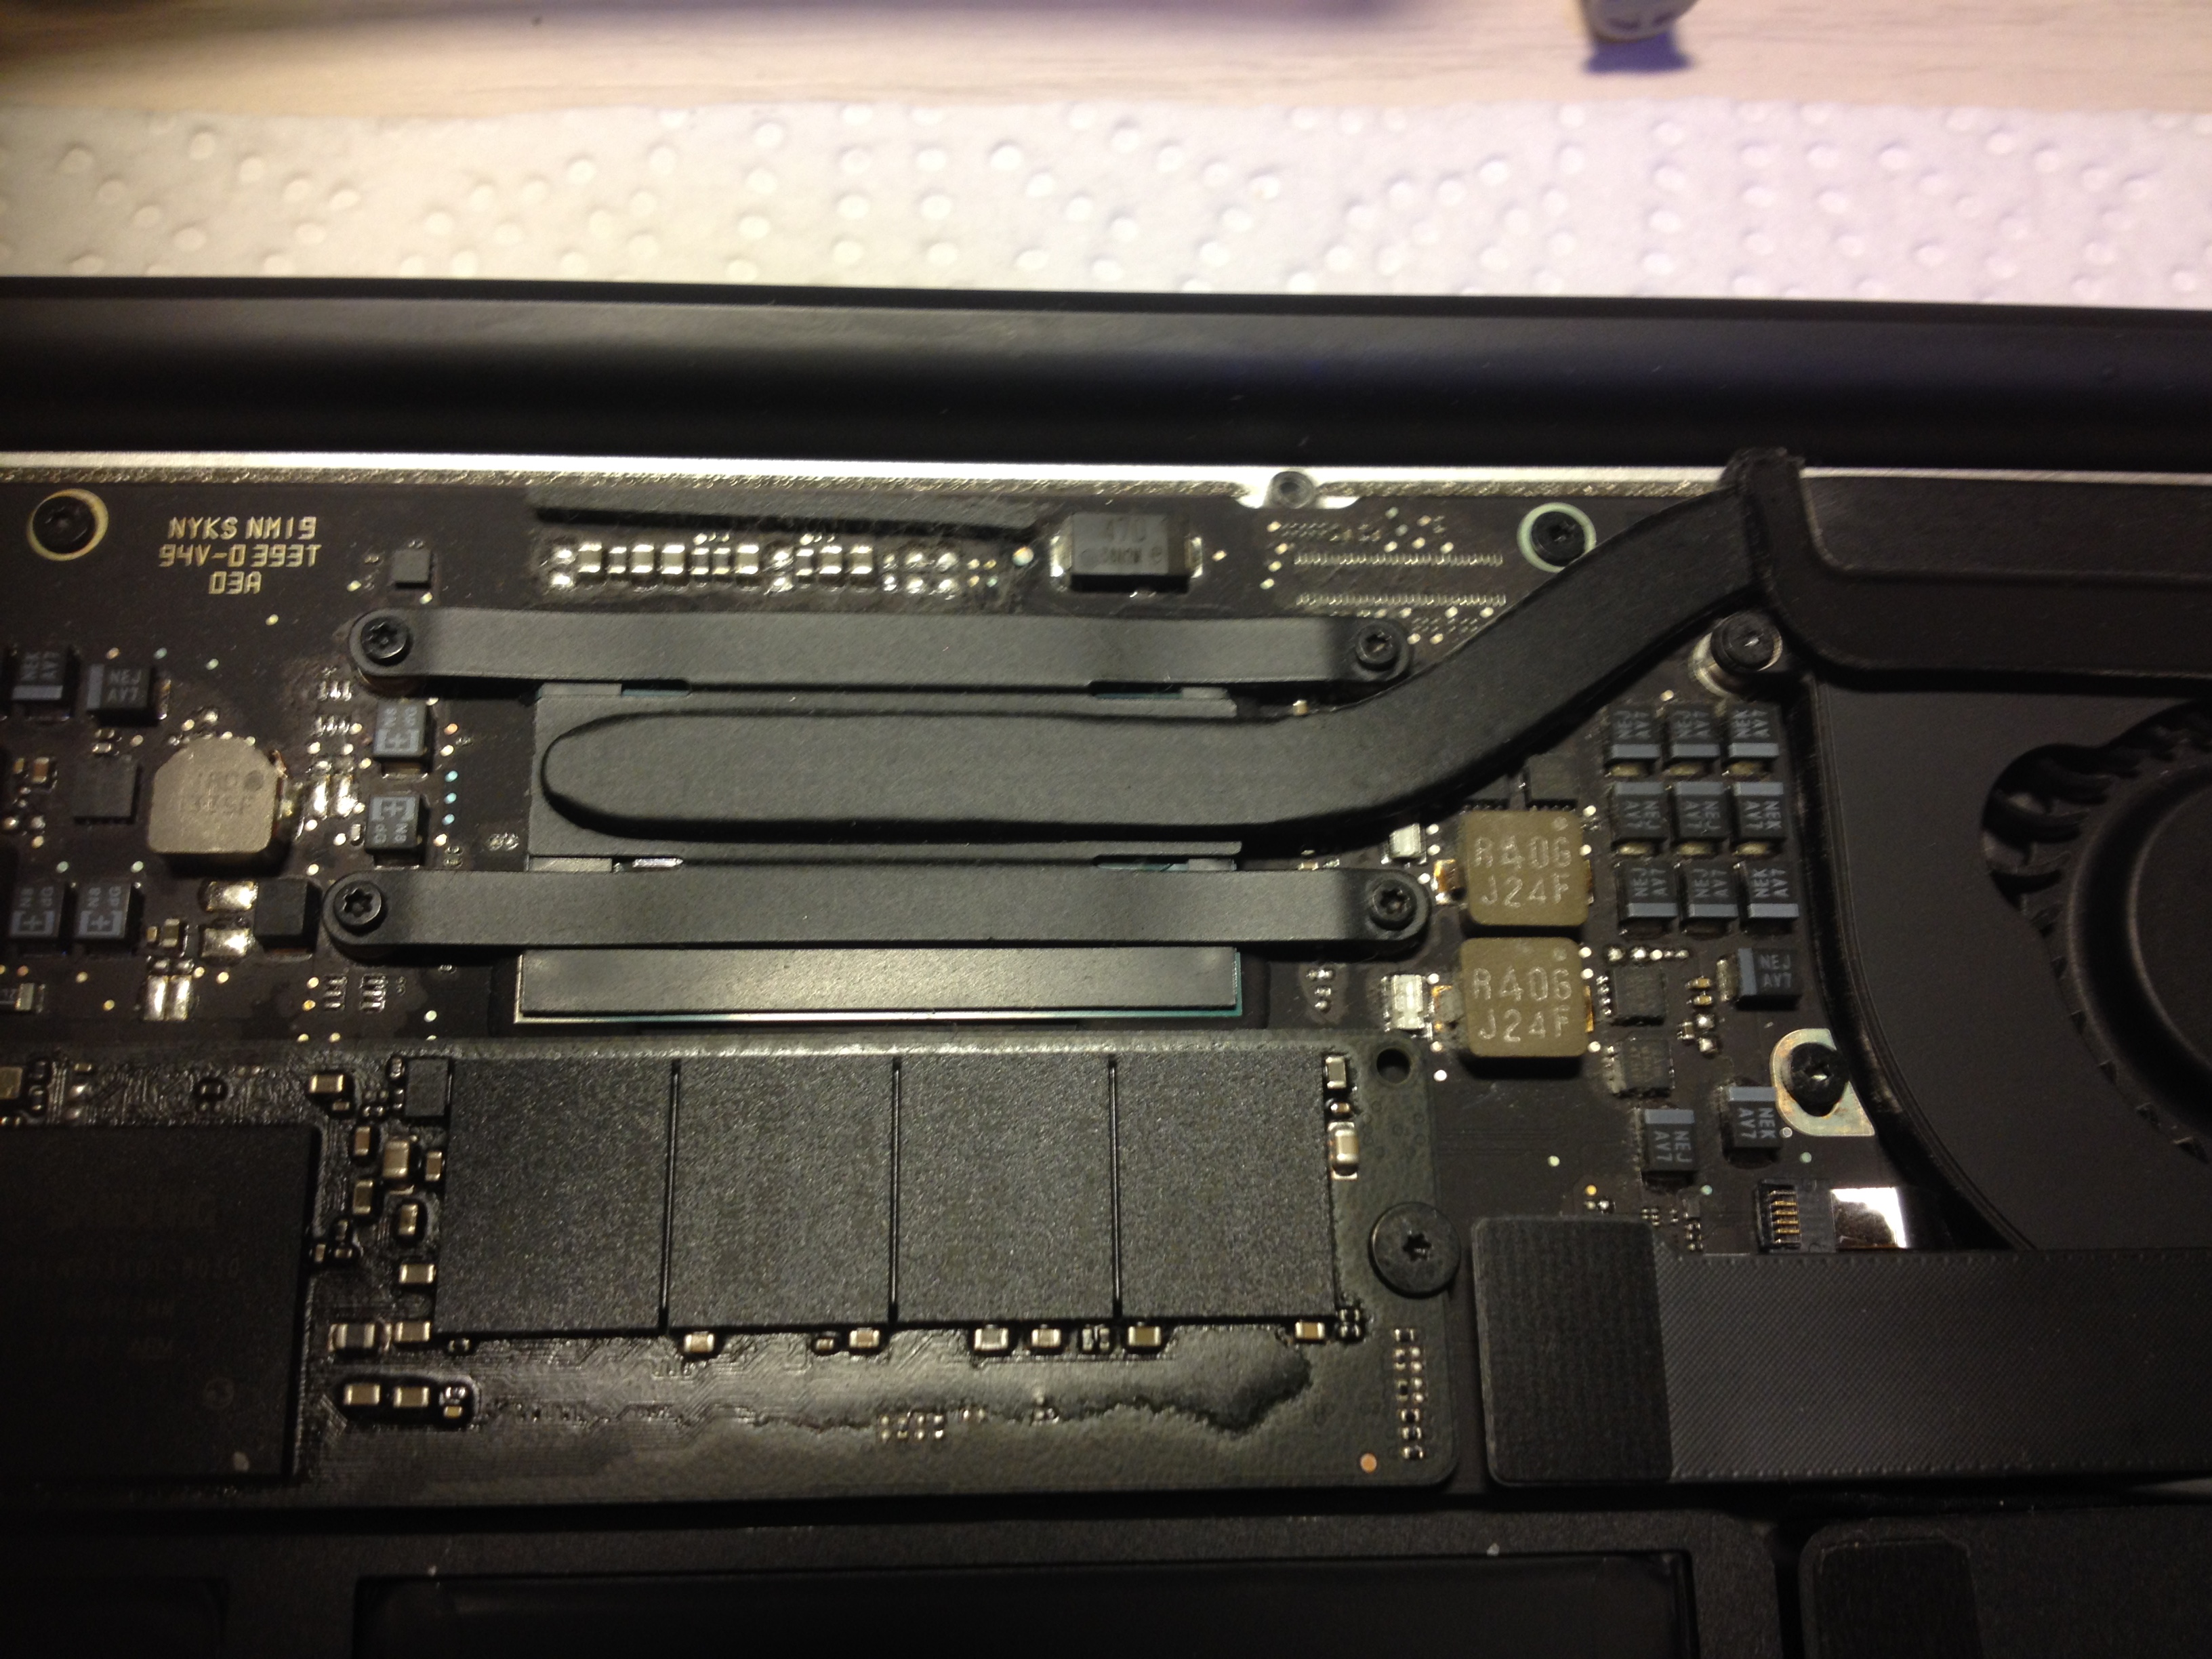
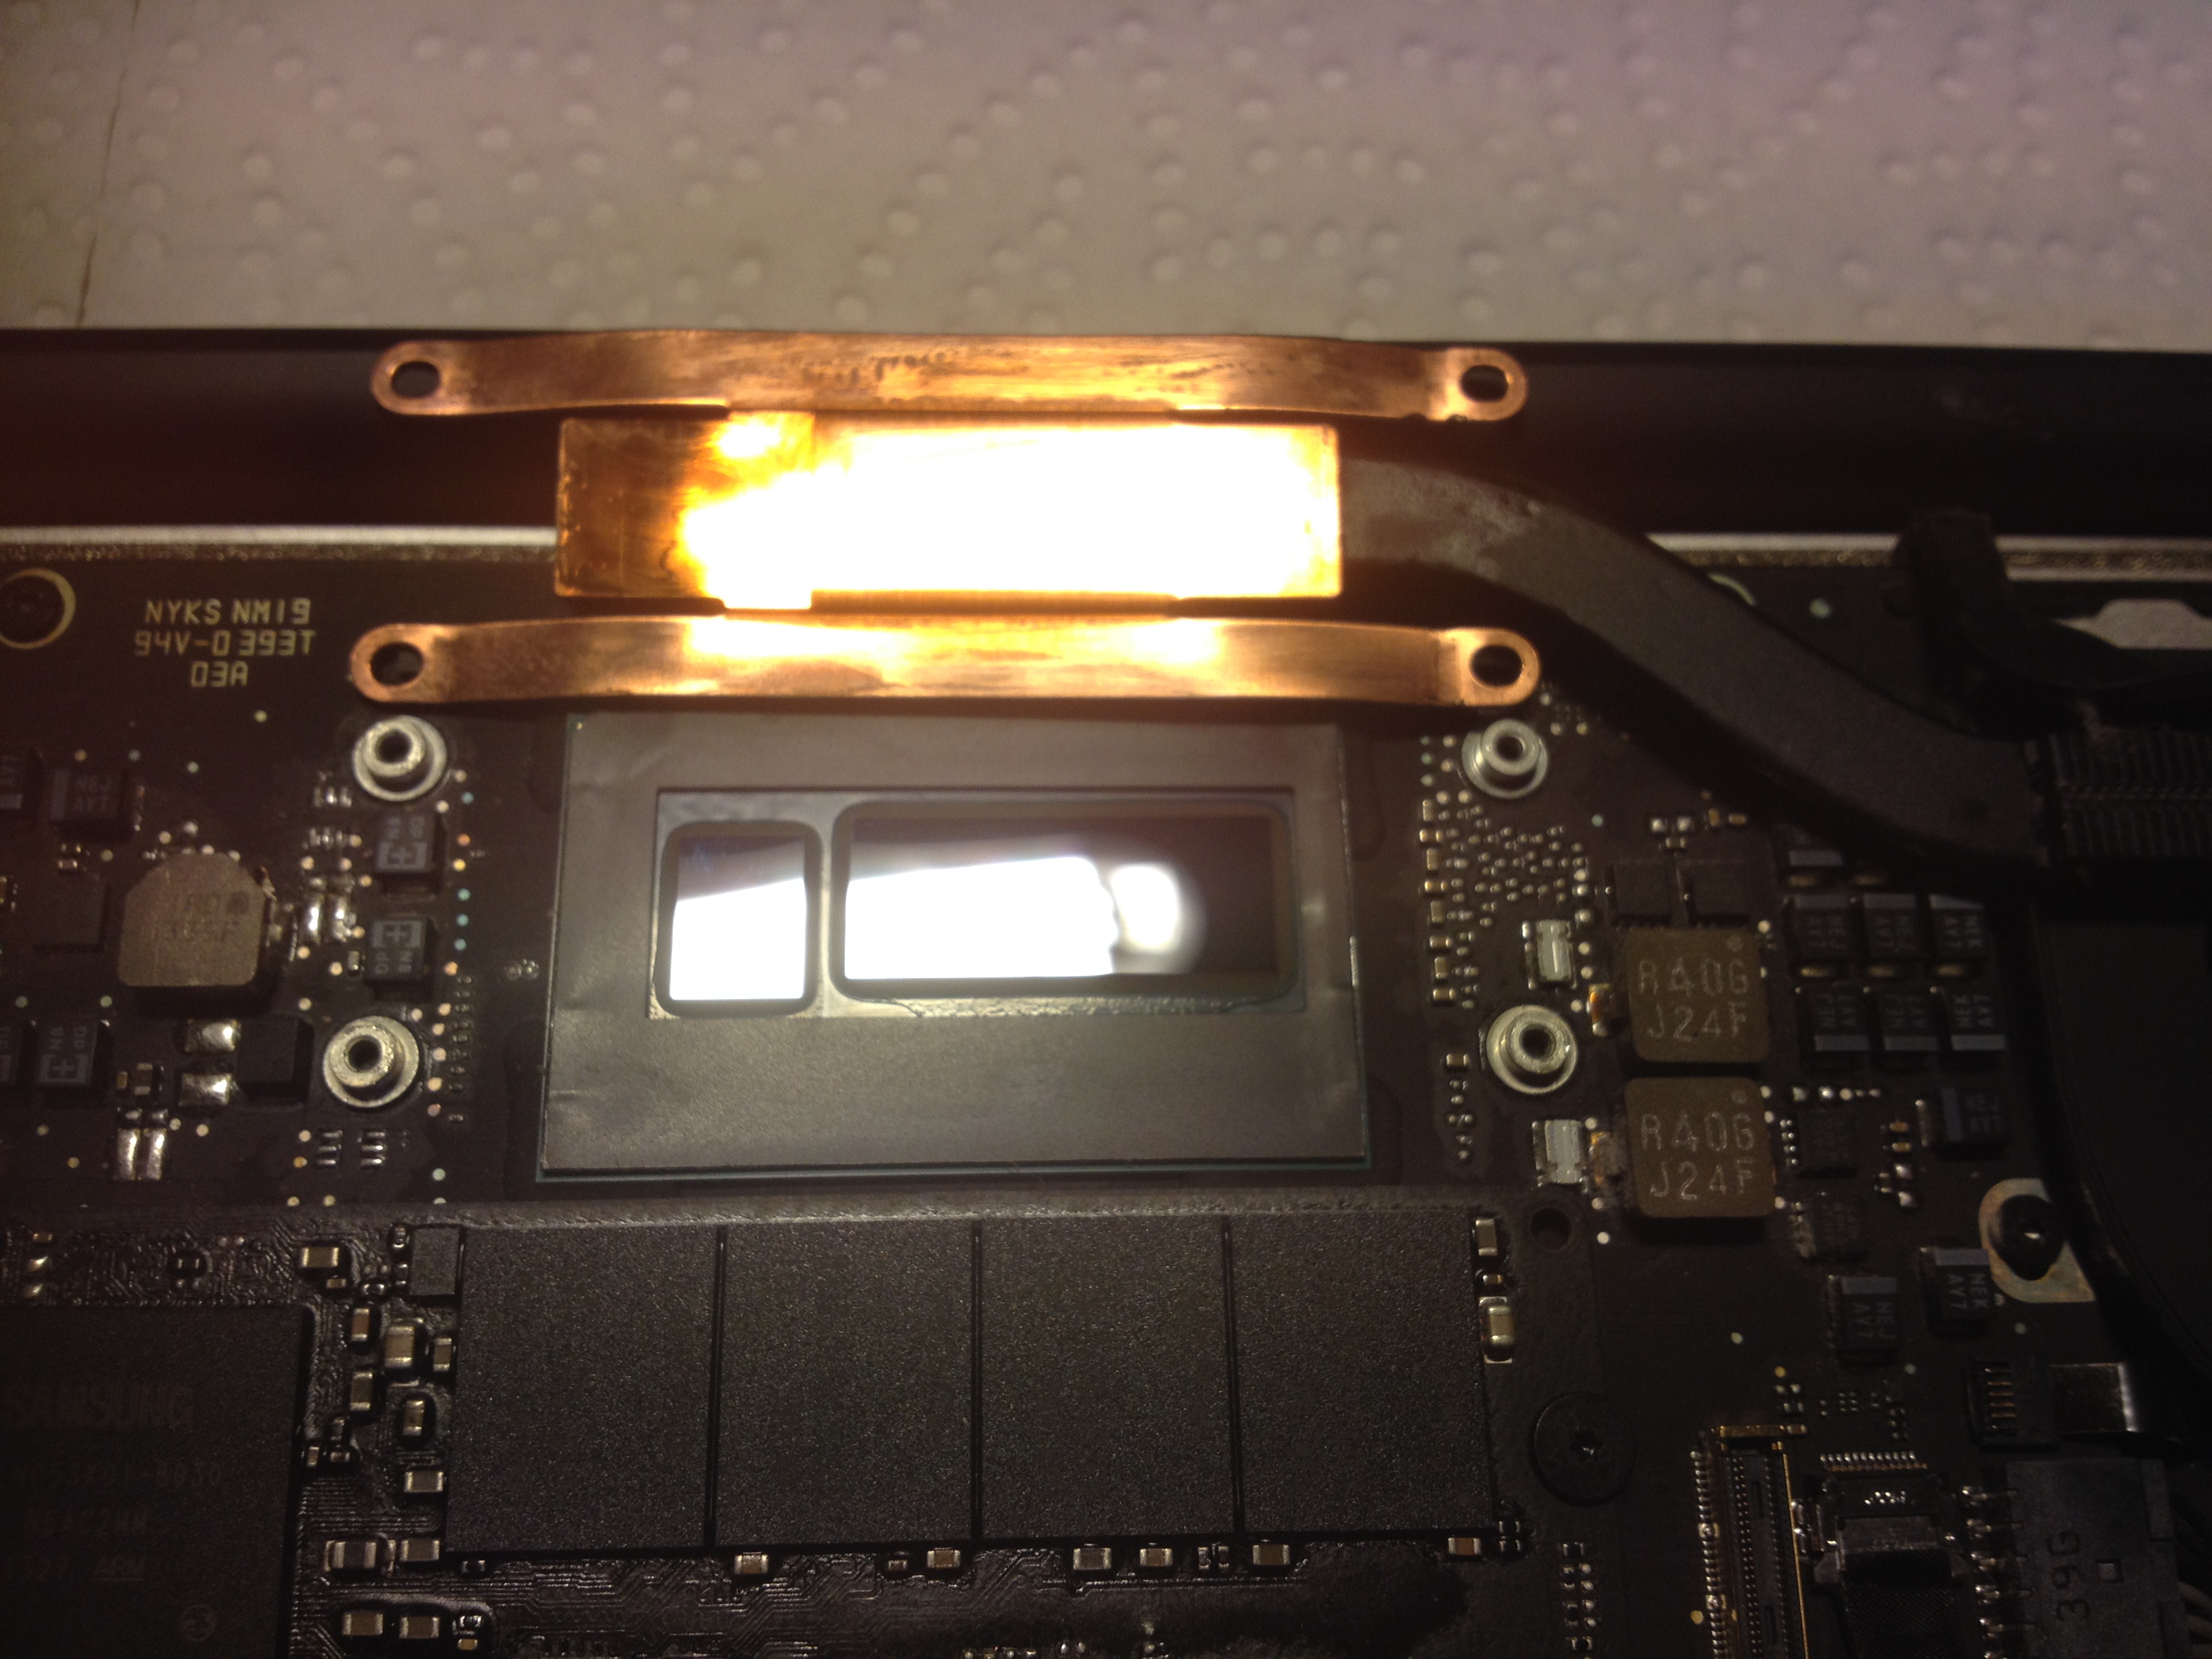
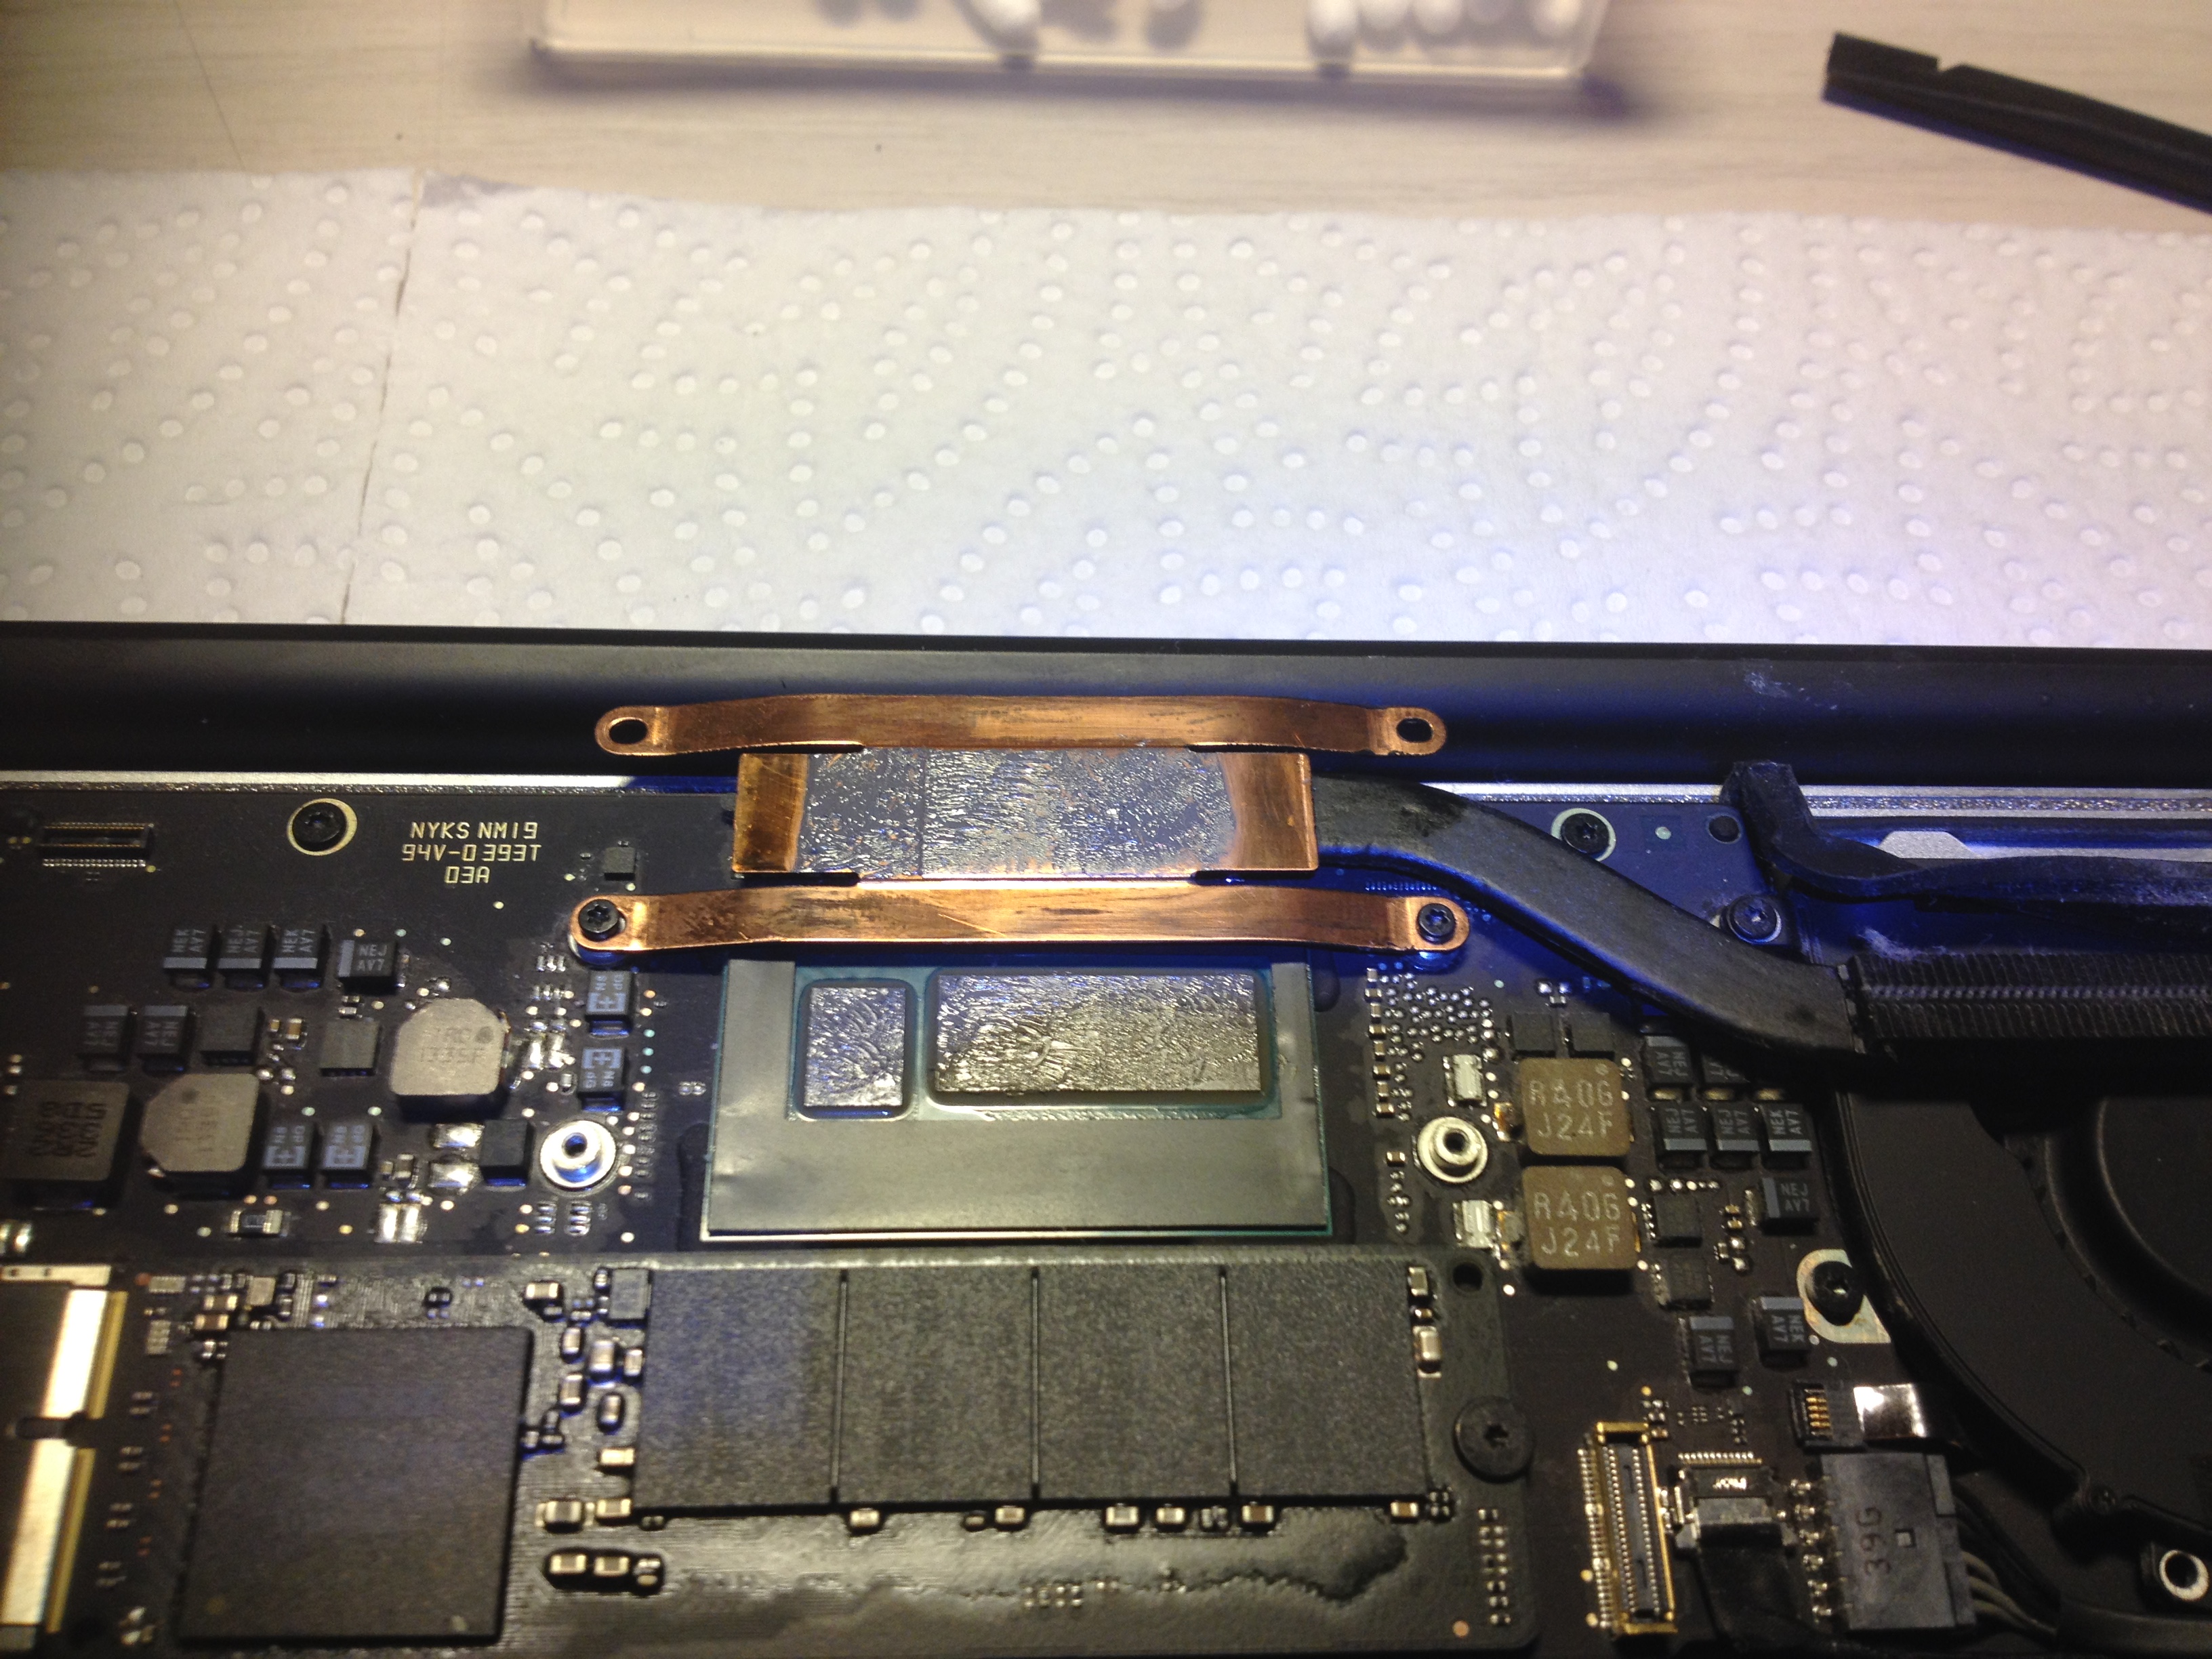
And with the fan removed, you can then remove the heat pipe to get to your CPU:
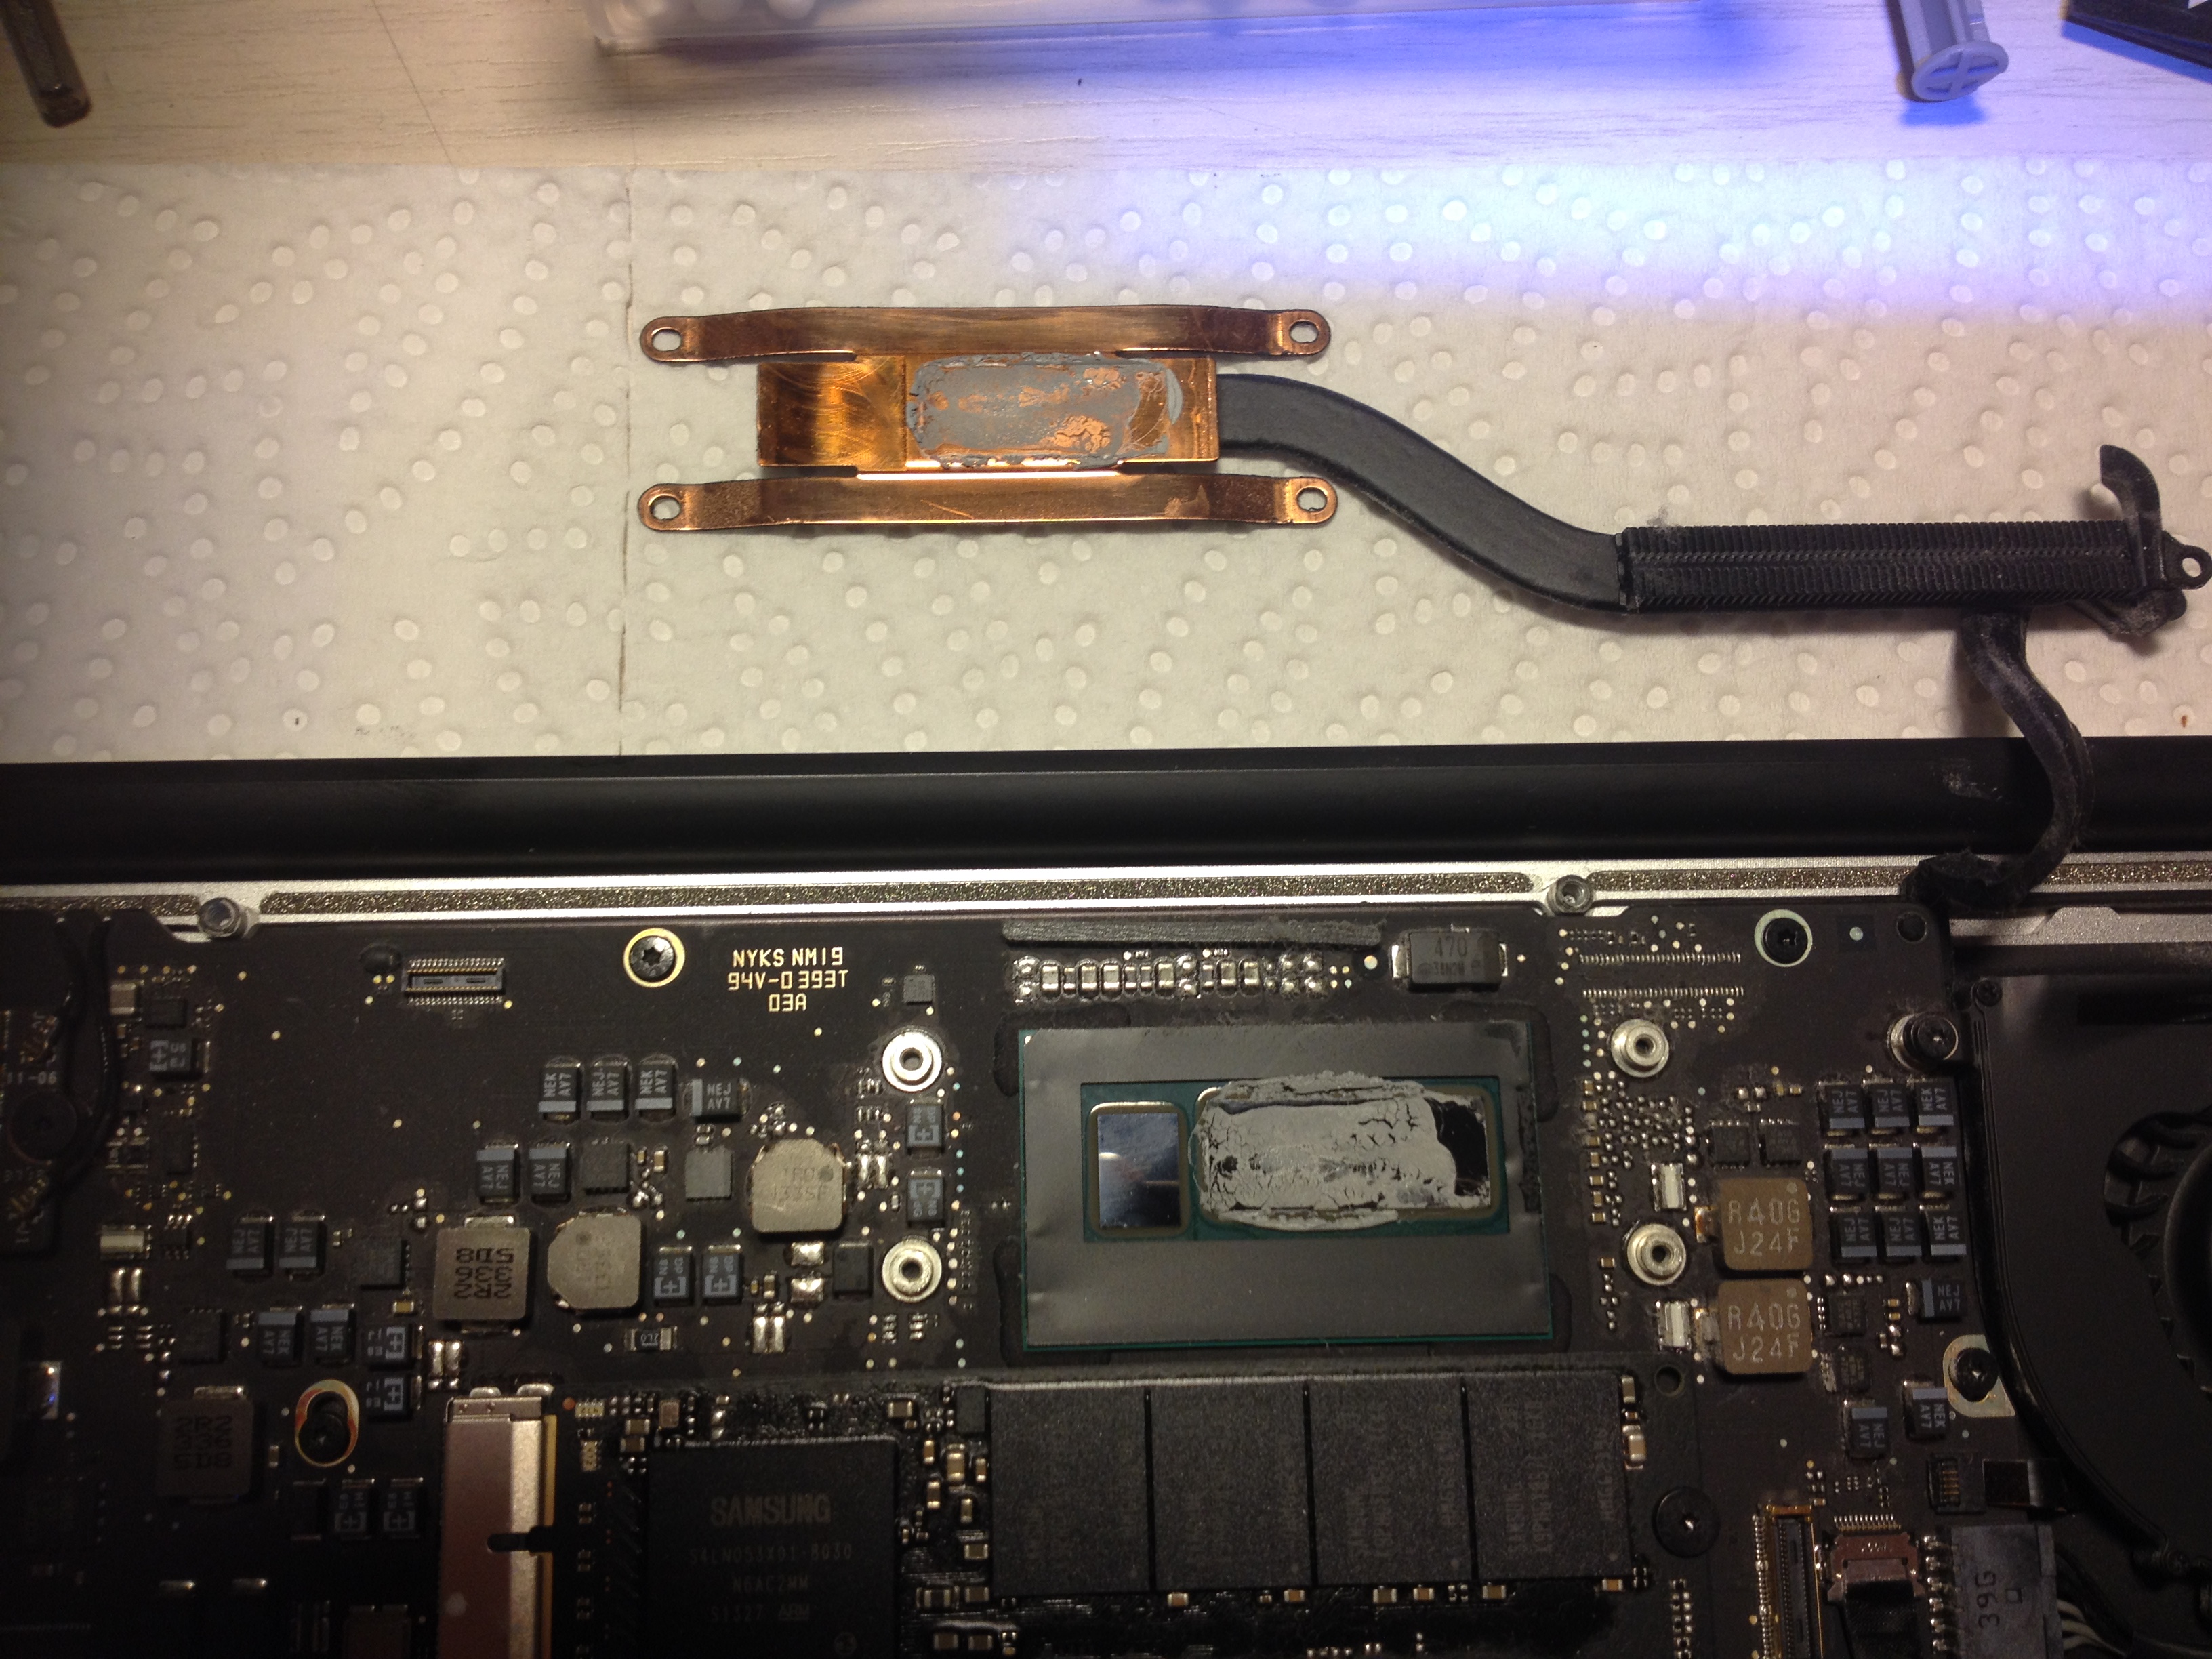
Yes, it is really that bad. Here is another view:
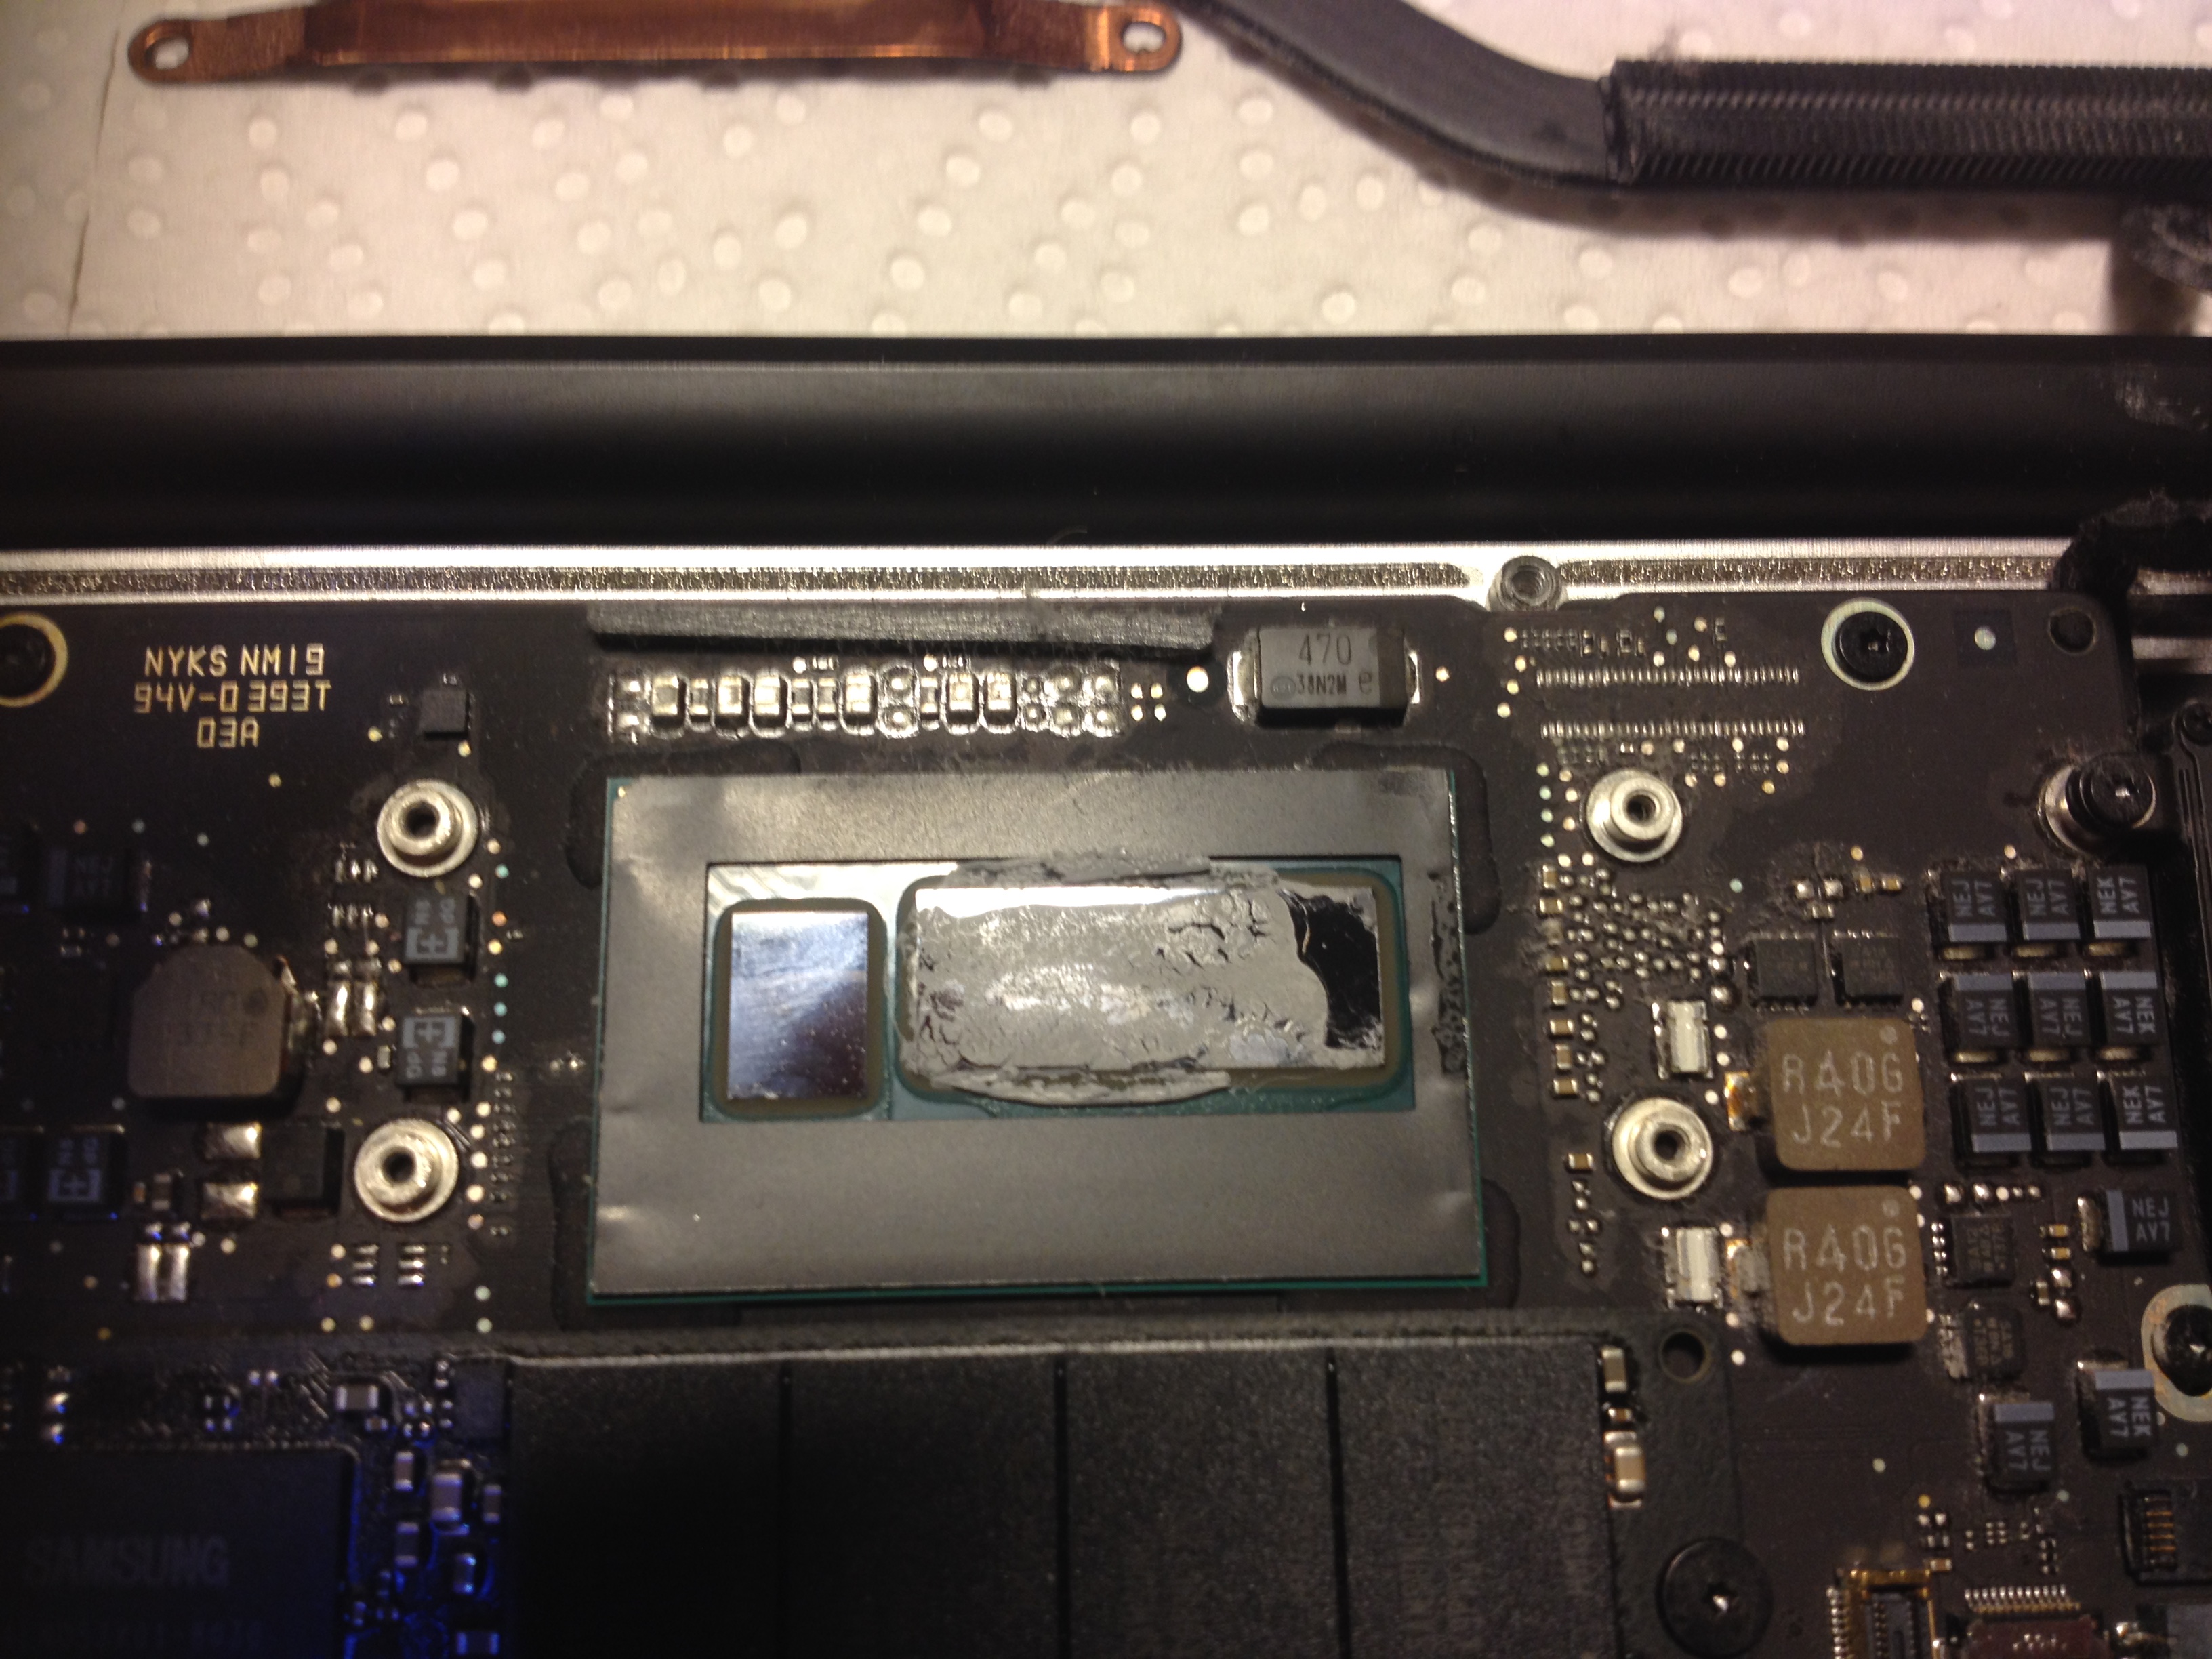
The GPU has no thermal paste whatsoever – which was different on the second machine I opened – and the thermal paste on the CPU is like completely dry and all over the place. At least it does not short-circuit any other elements on the CPU board as it was the case with the MacBook Pro I had reviewed earlier. Anyway, let’s clean it:

If you can see your desk lamp reflected in the surfaces, that’s about as clean as you want it to be:
Next, re-apply thermal paste, and do so very sparsely: As I have described here, my strategy is to use a Q-Tip and wrap it with some plastic, then add a very tiny little amount of Thermal Paste on the tip and spread it carefully onto the CPU (and GPU!) as well as on the opposite side, i.e., the heat pipe:
Put everything back together, don’t forget to re-connect the cables you removed, and off you go – come back next year for your occasional review cycle. The Thermal Paste I’ve bought will probably a decade at lest.
Disclaimer: If you break your Computer, your Hands or your Neck following these procedures, well, be more careful next time…

2 Responses
[…] you have read this post talking about fixing the thermal paste for a MacBook, you may have wondered why Apple […]
[…] have already repeatedly written about dealing with overheating MacBooks. My not-anymore-so-current MacBook Pro […]